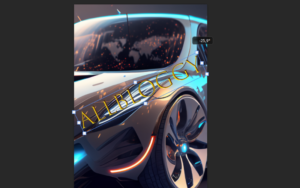
In this Photoshop tutorial, I will teach you step-by-step how to make an image glow using all kinds of techniques and tricks so that you’ll end up with a cool image like the one you see here above.
This form of a glow effect that I will be teaching you today is a very eye-catching one. So once you have mastered this skill you will stand out from your competition and learn something very useful.
I do have to say this isn’t the easiest thing to do but if you just listen to my instructions and keep paying attention everything will be fine and you’ll end up with a nice glow effect image. So let’s get started.
By the way, before we get started if you want to use the same image that I will be using for this tutorial click here.
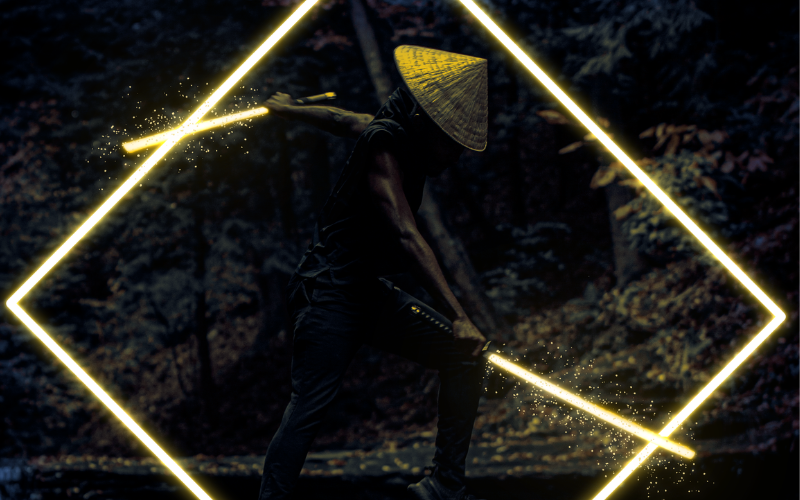
How to create a neon portal in Photoshop
Before I published this tutorial I was already done with the image you saw above when you opened this page but one thing was missing and that was the neon portal.
I added this part to the tutorial because when I was done with the image I still felt that something was missing.
That’s why I came up with the idea of adding a glowing diamond-shaped portal or whatever you want to call it to the image to make it more living. I highly recommend you follow the steps below if you want this too.
Step 1: Paint over your image using the Brush tool
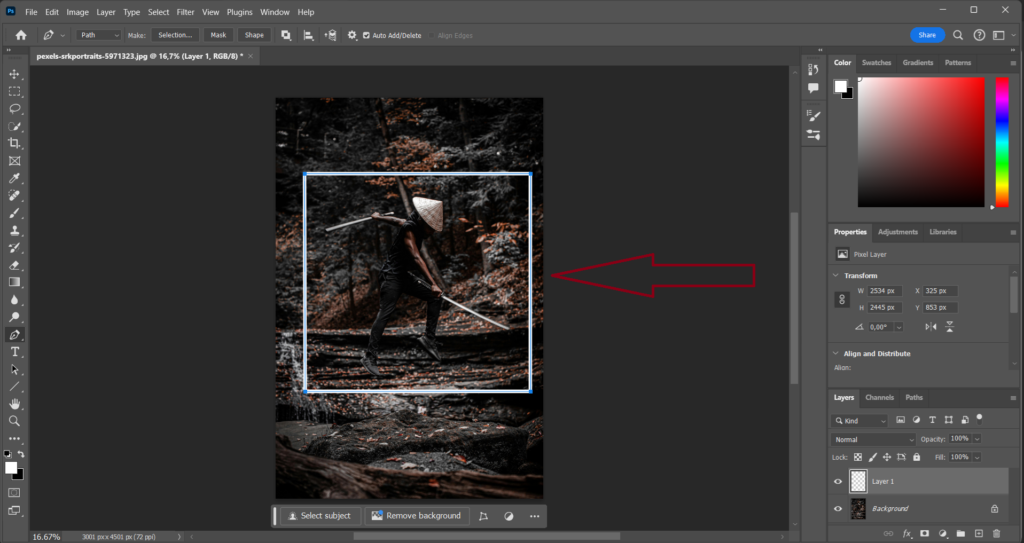
To create this glowing diamond-shaped portal you will first have to select the Brush tool (P) to run a test.
Just paint over the image and see if the thickness of the brush would suit the thickness of your portal.
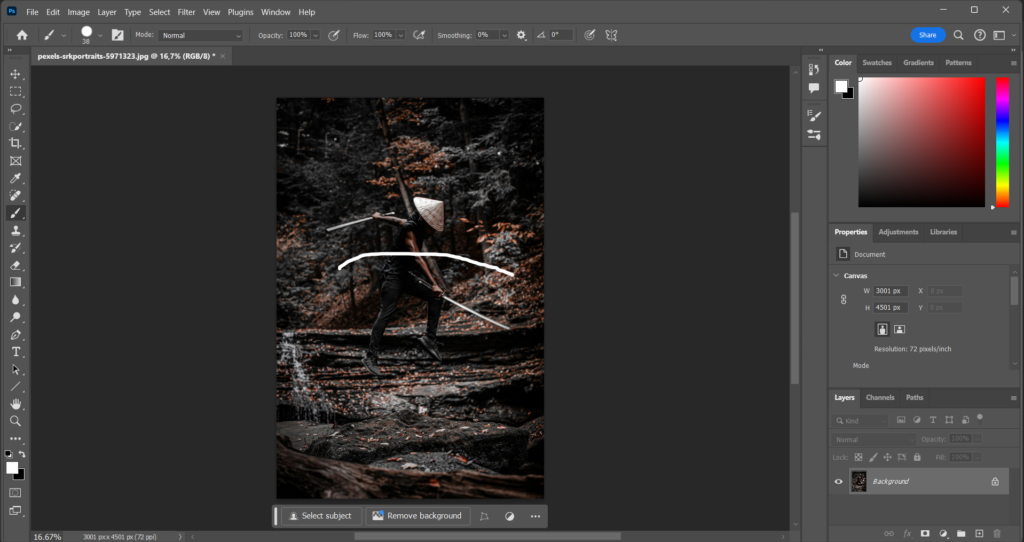
If you want a portal that has thick lines increase the size of the brush and if you want a portal that has thin lines decrease the size of the brush. My brush size is (38).
Also don’t forget to remove the paint on your image before heading over to the next (CTRL + Z) or (Command + Z).
Step 2: Create a square using the Pen tool
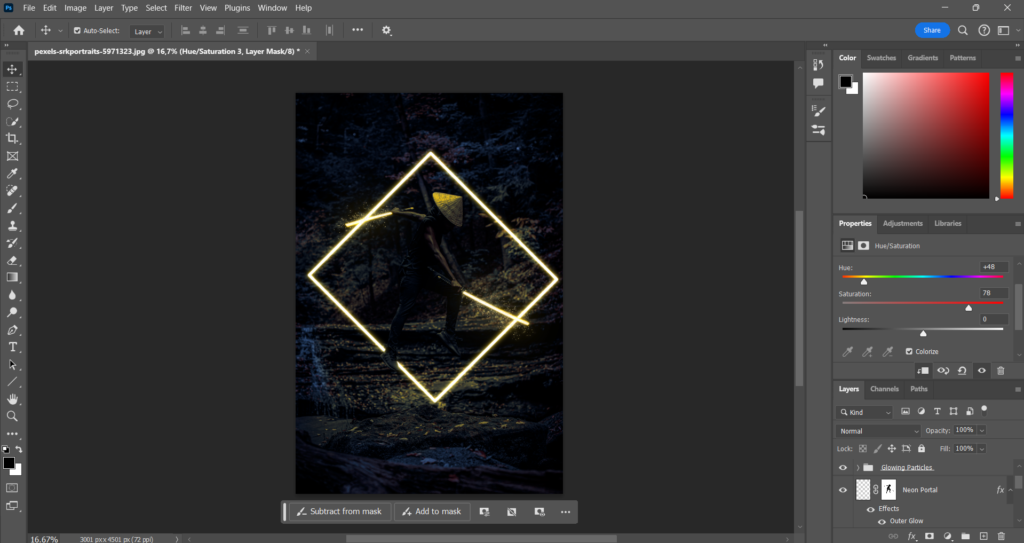
Select the Pen tool (P) and create a square. You can use the key (Shift) for straight lines. After you create the square create a new layer right-click on the square and select (Stroke Path).
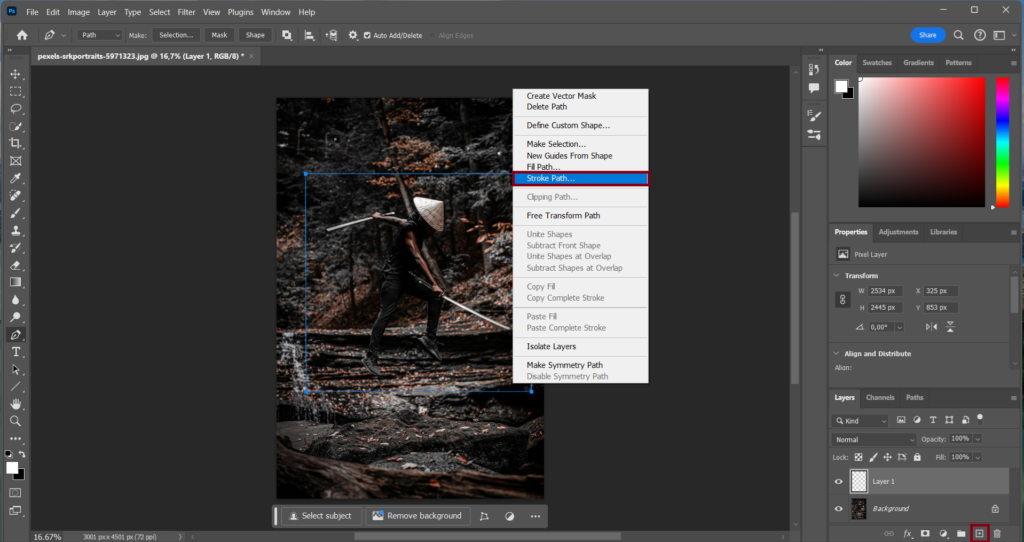
Make sure the option is set on the Brush tool and click on (Ok). If you still see the blue lines of the Pen tool in front of your white square just remove them.
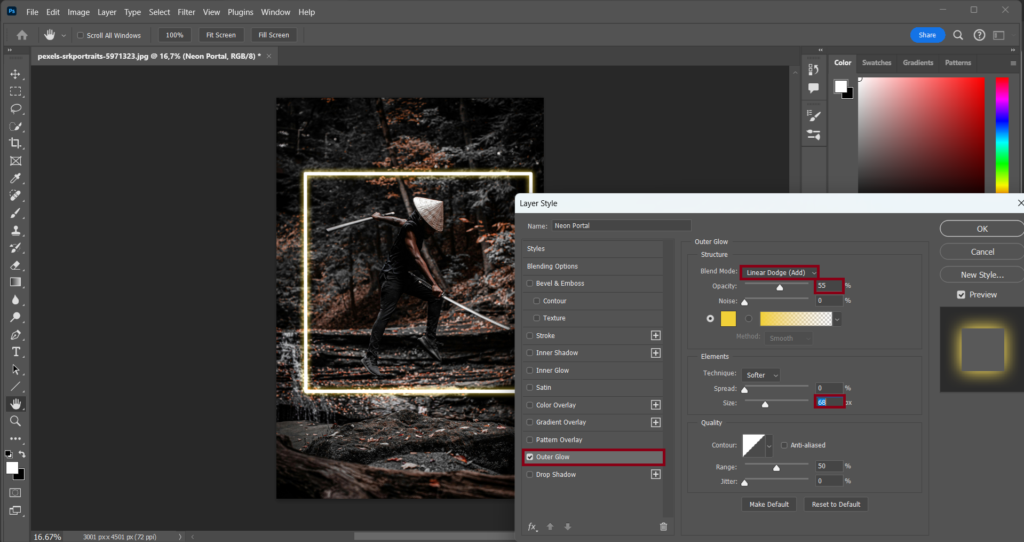
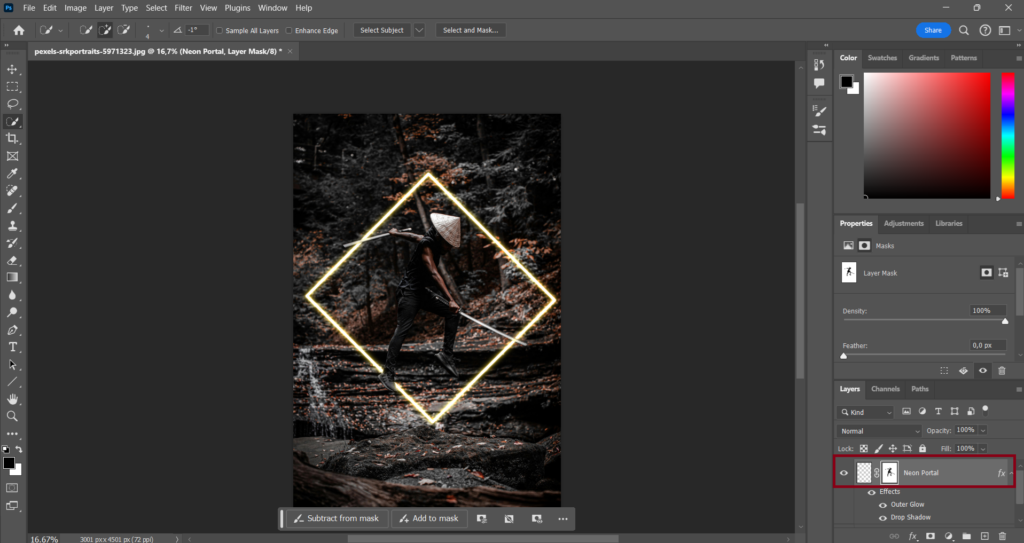
Step 3: Add an outer glow effect to the square
Make sure the layer of the square is selected double-click on it and select the outer glow effect.
The settings I use for the outer glow effect are (Blend mode): Linear Dodge (Add) (Opacity): (55) (Size): (68) (Color): you can choose whatever you want I use color: (f1d038) and the rest I just left on default.
Step 4: Add a drop shadow effect to the square
The settings I use for the drop shadow effect are (Blend mode): Linear Dodge (Add) (Opacity): (100) (Distance): (0) (Spread): (0) (Size): (18) (Color): use the same color you used on the outer glow effect. And the rest I just left on default.

Step 5: Rotate and resize the square
Select the Move tool (V) and press on (CTRL + T) or (Command + T) to activate the transform controls. Now rotate the square 45 degrees and resize it the way you want it.
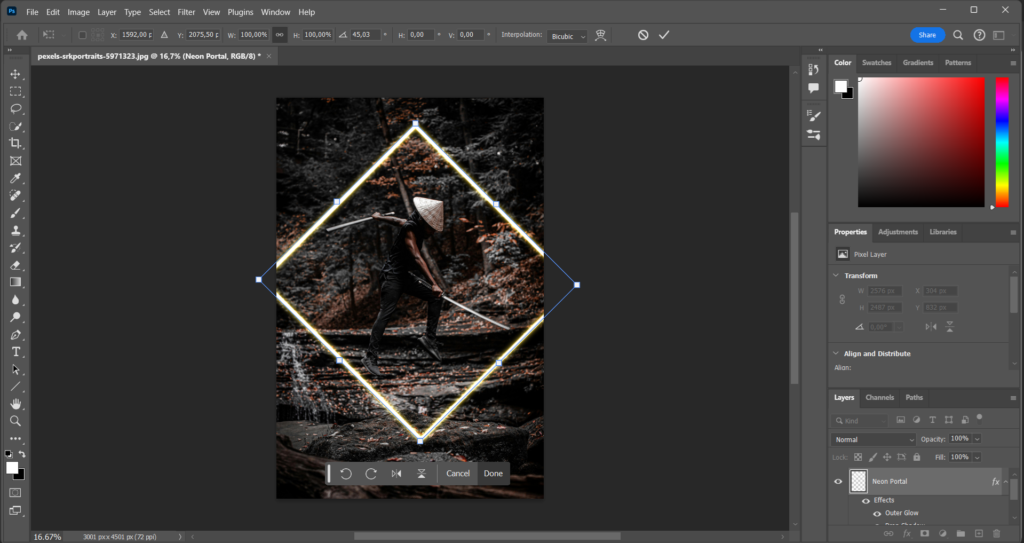
If you feel like it should be rotated more be my guest. Just do what’s best for your image.
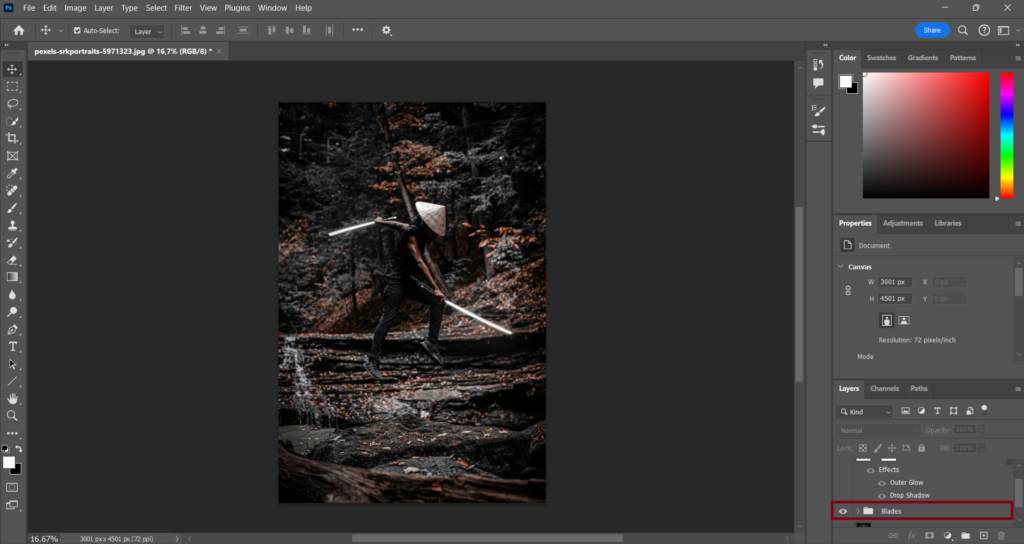
Step 6: Make a selection of your subject
before you do anything I suggest you hide the neon portal for now by clicking on the eye icon next to its layer.
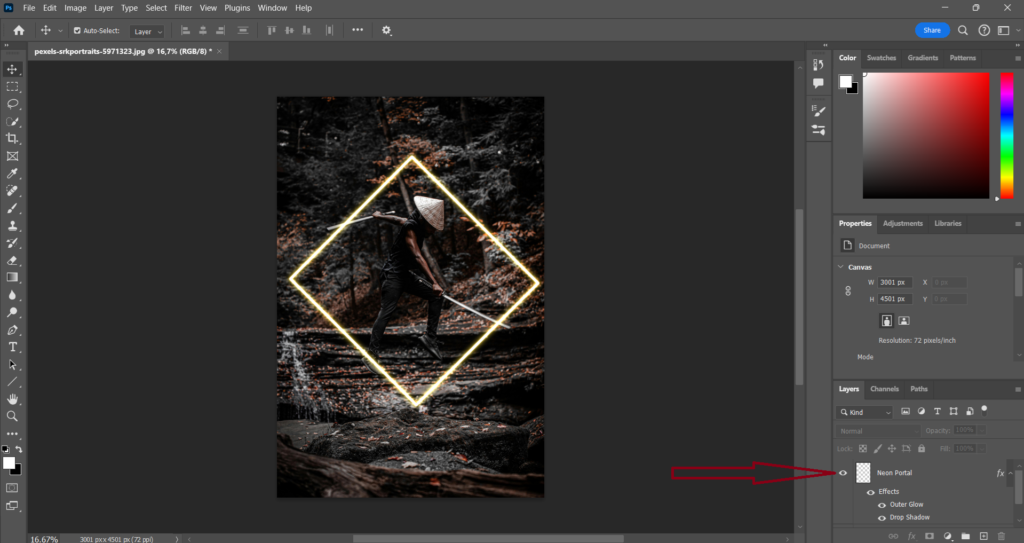
Select the background layer and make a selection of your subject. In my case, that would be the samurai man and his two blades.
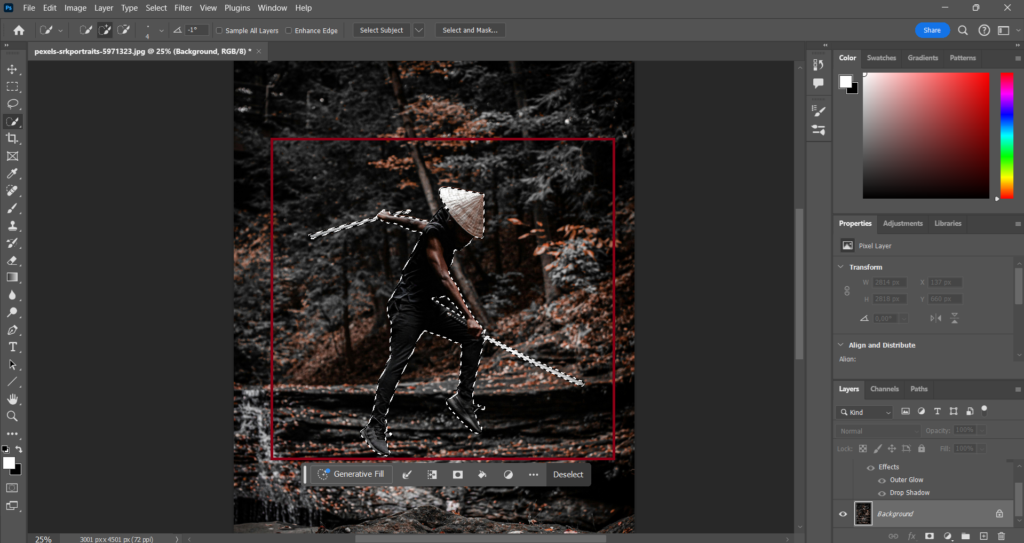
After you make a selection of your subject select the neon portal layer again and click on the mask icon under the layers panel.

After you do that make the layer visible again and invert the mask by pressing (CTRL + I) or (Command + I).
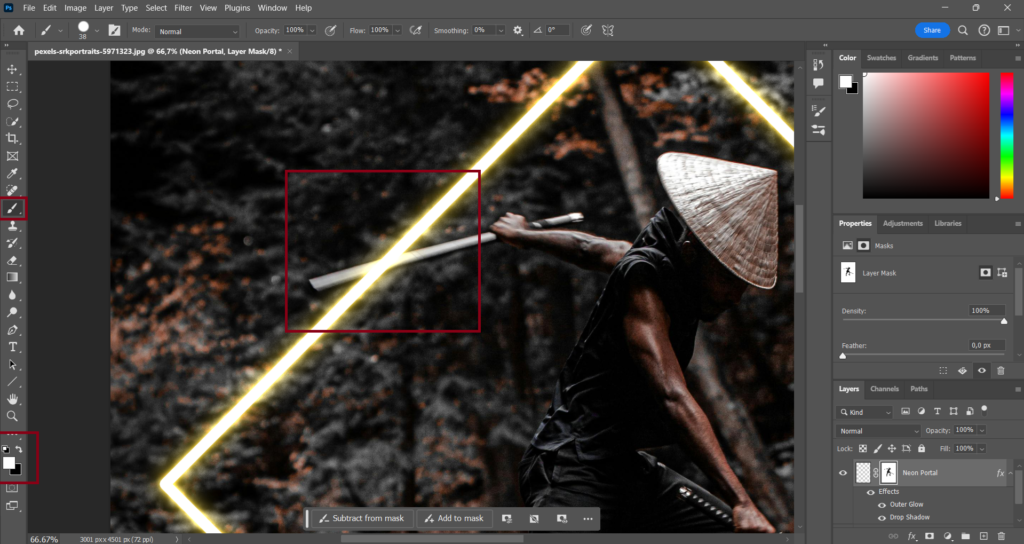
Now you could leave it like that and head over to the next part but in my image I want it to look like the samurai is almost in front of the portal and not already in front of it.
So what I’m going to do is make sure the foreground color is set to white I’m going to select the brush tool and paint over the blade in the back so that the blade is behind the neon portal and not in front of it.
How to create a glowing effect in Photoshop
Before we can get started I highly suggest you hide the neon portal layer by clicking on the eye icon next to its layer.
The reason for that is that we will be making selections and the main focus should be not on the portal right now.
But don’t worry you can reveal it again if we are done with this part of the tutorial by clicking on the eye icon again.
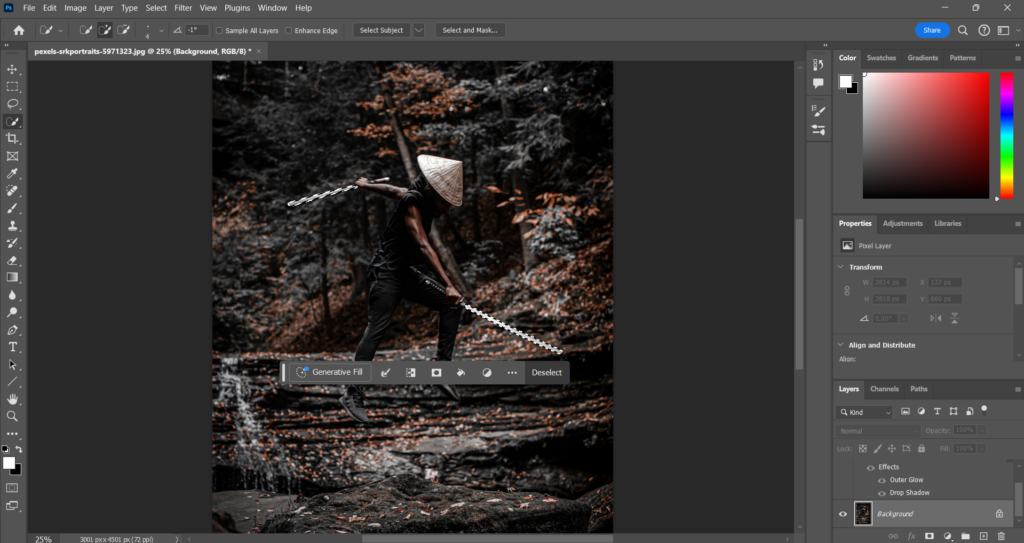
Step 1: Make a selection of the subject that you want to glow
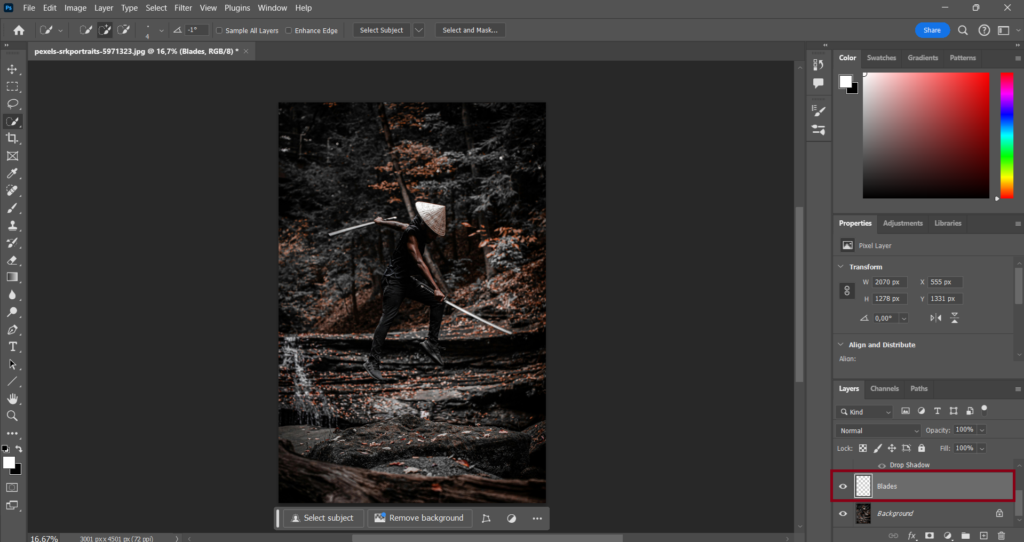
In my case, I need the 2 blades to be glowy so I will start off by selecting the background layer and creating a selection of the blades using the Quick Selection Tool (W).
After my selection is done I will create a layer of that selection by pressing on (CTRL + J) or (Command + J).
Step 2: Make the subject glow
Firstly convert the subject layer in my case the blade layer to a smart object by right-clicking on it and selecting (Convert to Smart Object).
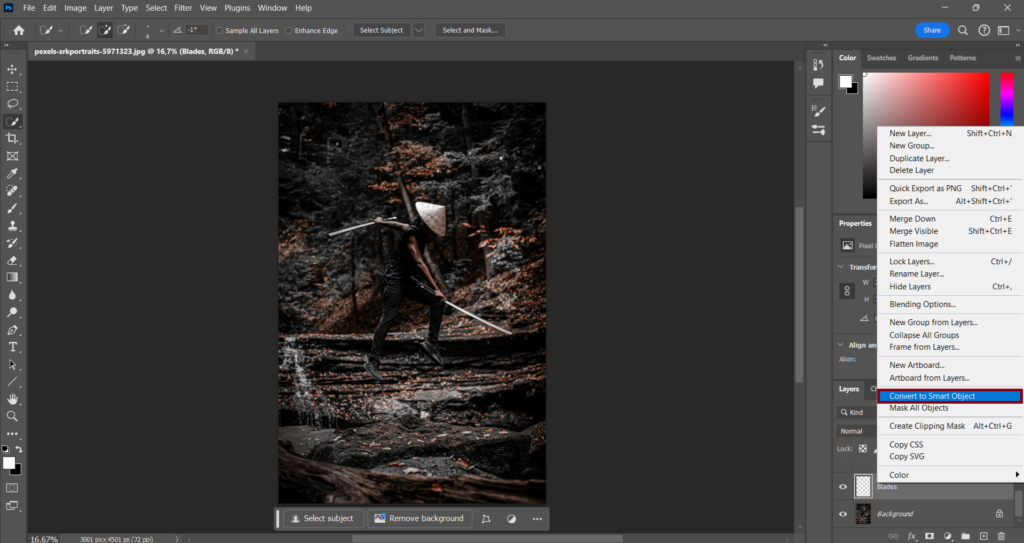
After you do that copy that layer by pressing on (CTRL + J) or (Command + J) and change the blending mode from the layer you copied from (Normal) to (Screen).

After you do that go to Filter > Blur > Gaussian Blur and choose (5) pixels.
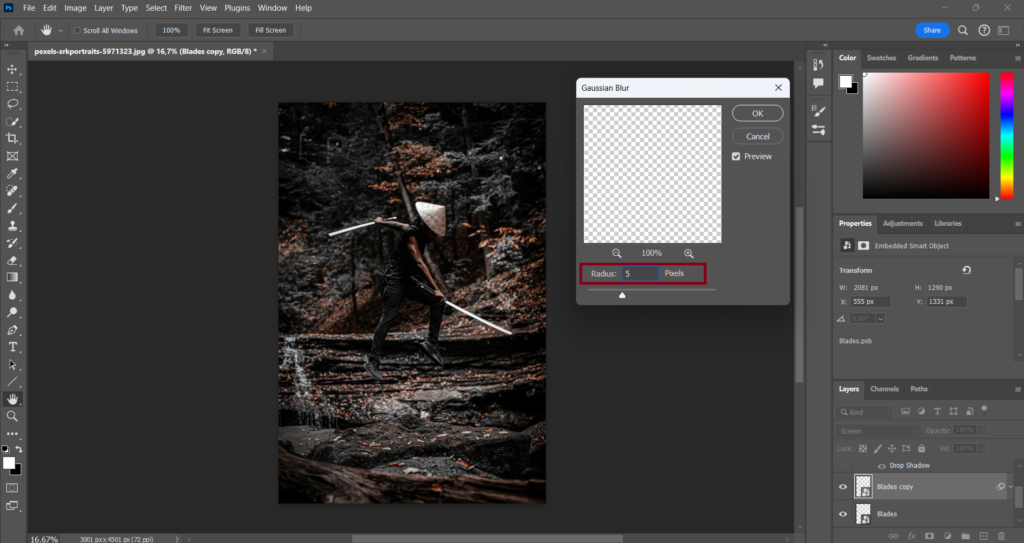
Now copy that layer again double-click on the word (Gaussian Blur) and change the pixels from 5 to (15).

Now copy that layer again double-click on the word (Gaussian Blur) and change the pixels from 15 to (150).

Now copy that layer one last time double-click on the word (Gaussian Blur) and change the pixels from 150 to (300).
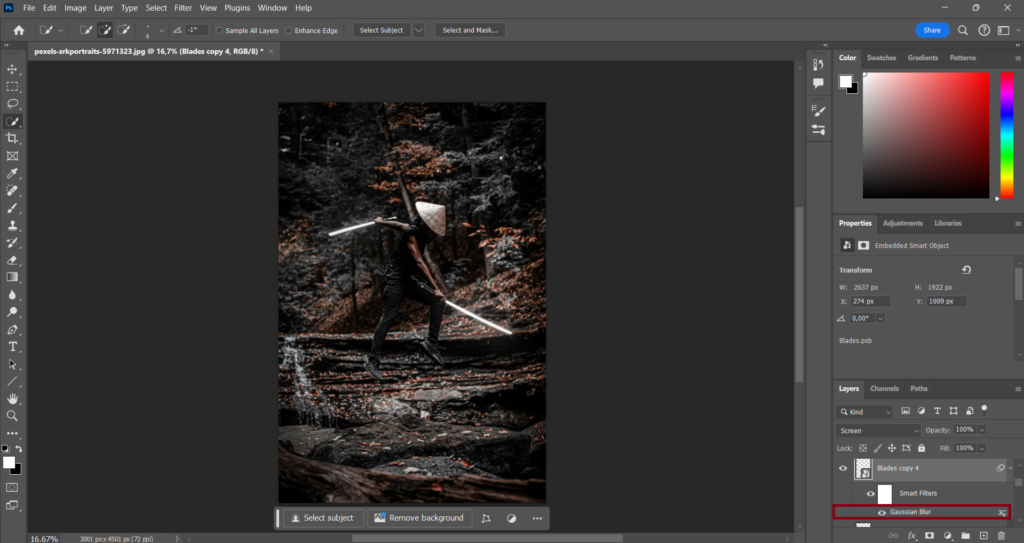
Now select all the layers that have something to do with your glow subject and group them (CTRL + G) or (Command + G).
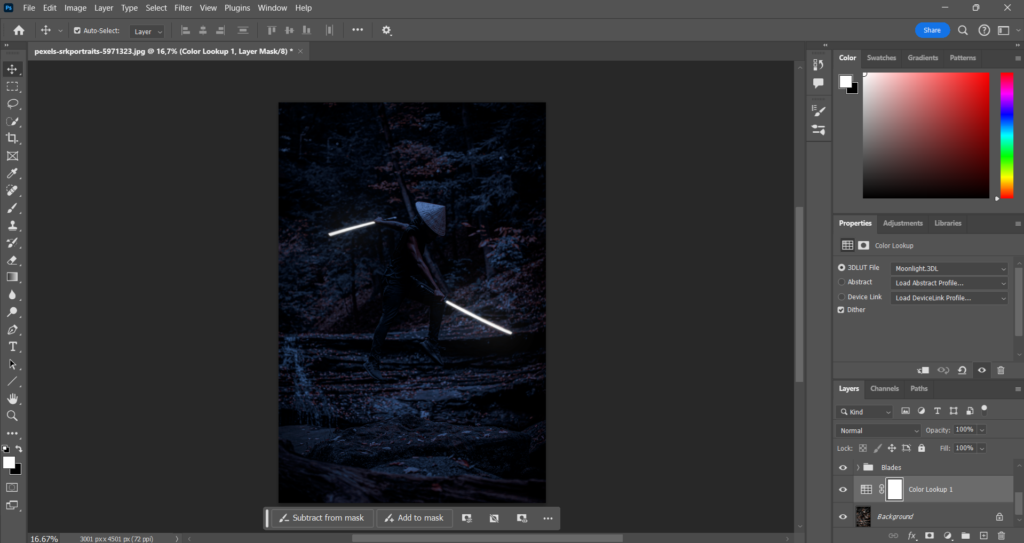
Step 3: Make it nighttime
My image is shot in daylight so I will have to make it look like it’s dark outside. I’m going to do that because when it’s nighttime, the glowy blades pop out more than when it’s daylight.
If your image is already shot at night time or has a dark background you can skip this step and head over to the next one.
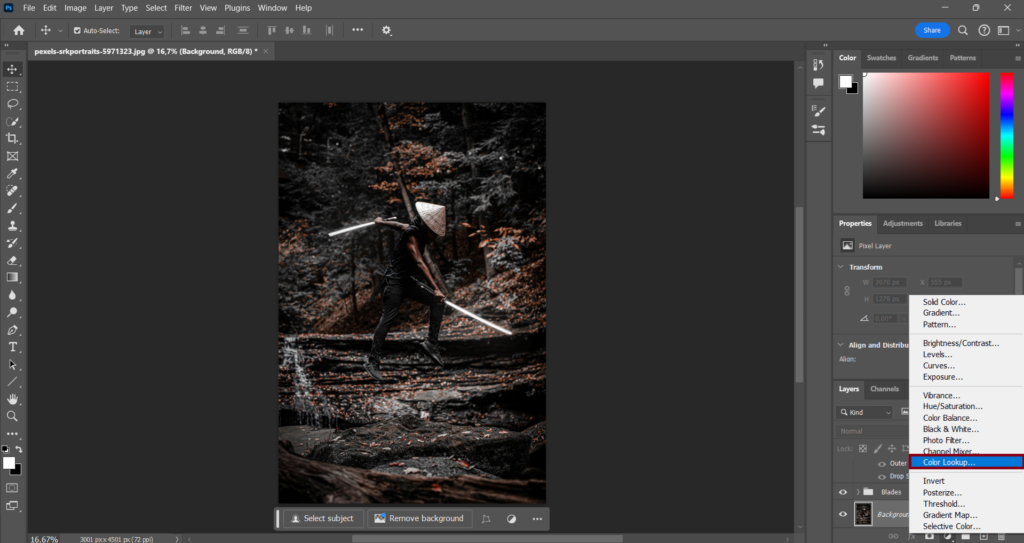
So I’m going to select the background layer click on the adjustments layer icon and select (Color Lookup).
I’m going to click on (Load 3D LUT) and from here you can pick between (Moonlight.3DL) or (NightFromDay.CUBE).
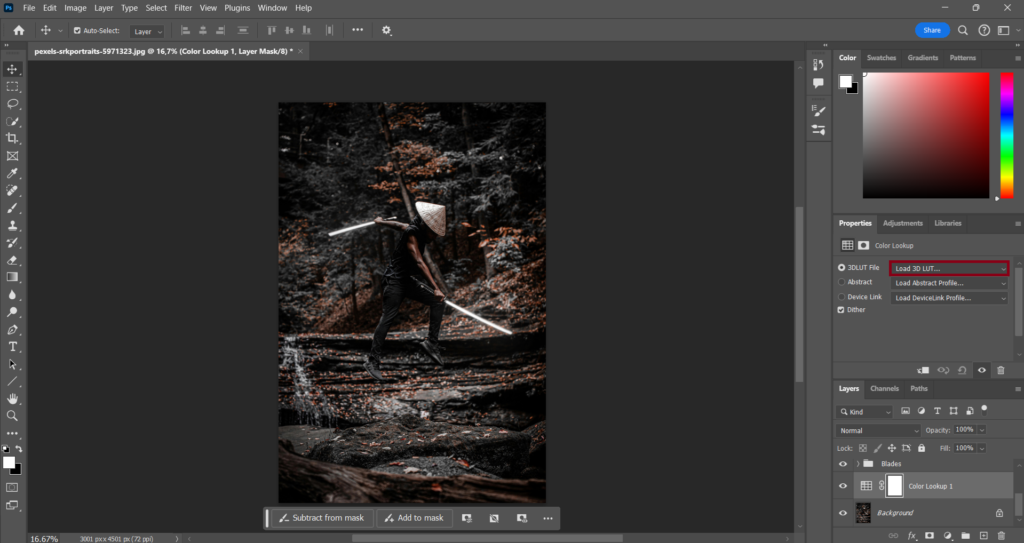
For this image, I will be using (Moonlight.3DL) but you can pick (NightFromDay.CUBE) as well there’s not much of a difference anyways between the two.
Step 4: Change the color of the glowy subject
The blades are pretty glowy right now but adding a color to it will make it even stand out more. That also counts for your subject.
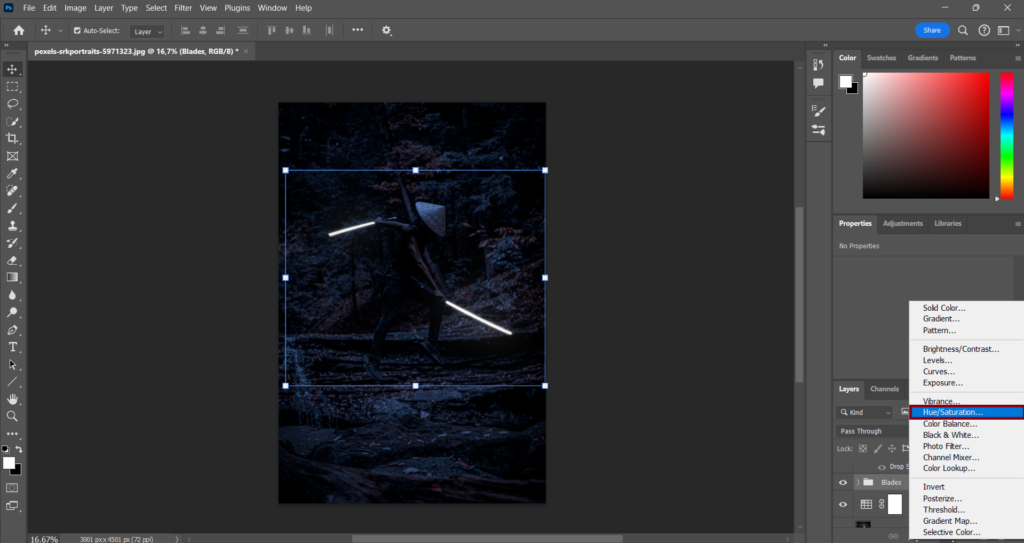
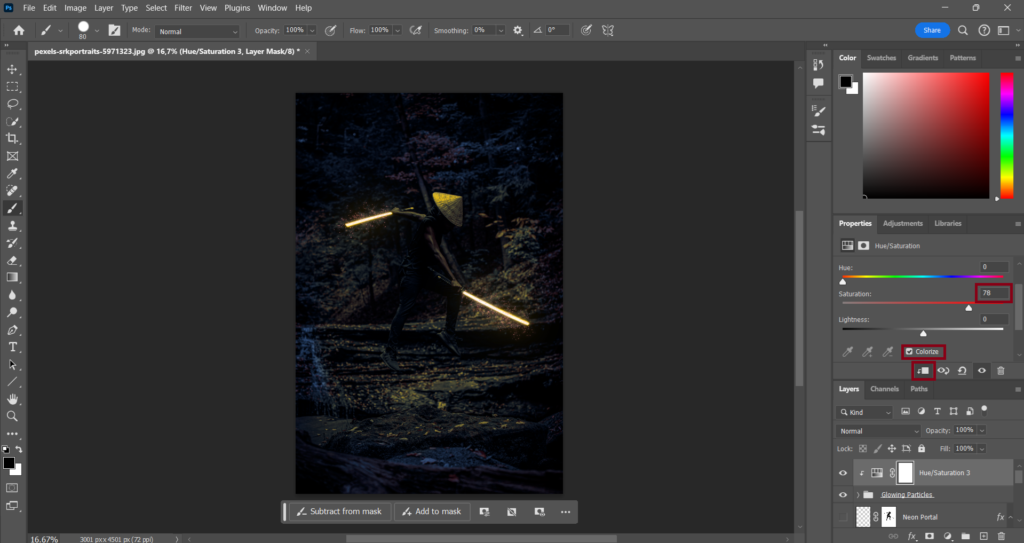
So what we’re going to do is we’re going to select the glowy group in my case the blades group and we’re going to click on the adjustments layer icon and select (Hue/Saturation).
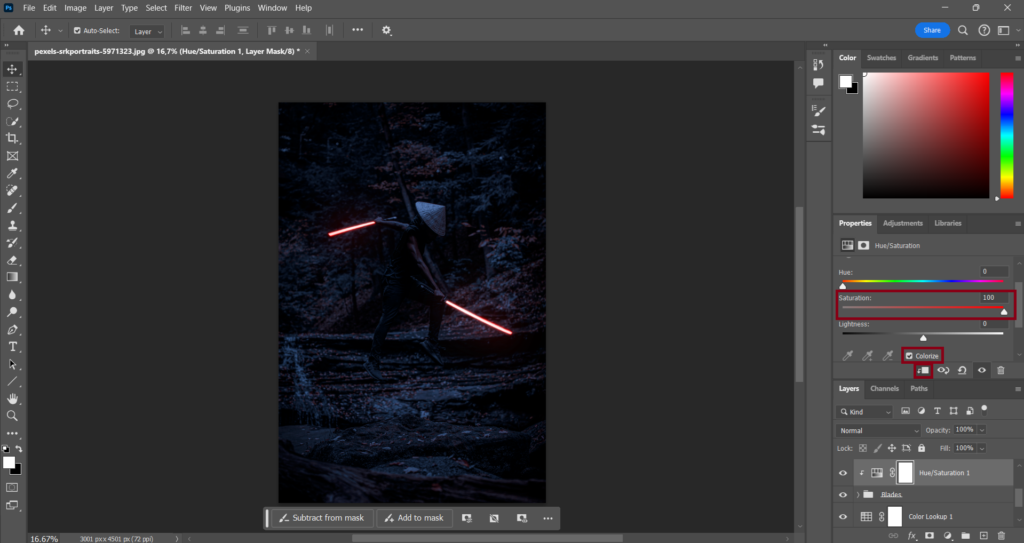
Now click on (Colorize) create a clipping mask by clicking on the square with the arrow next to it and turn saturation to a (100).
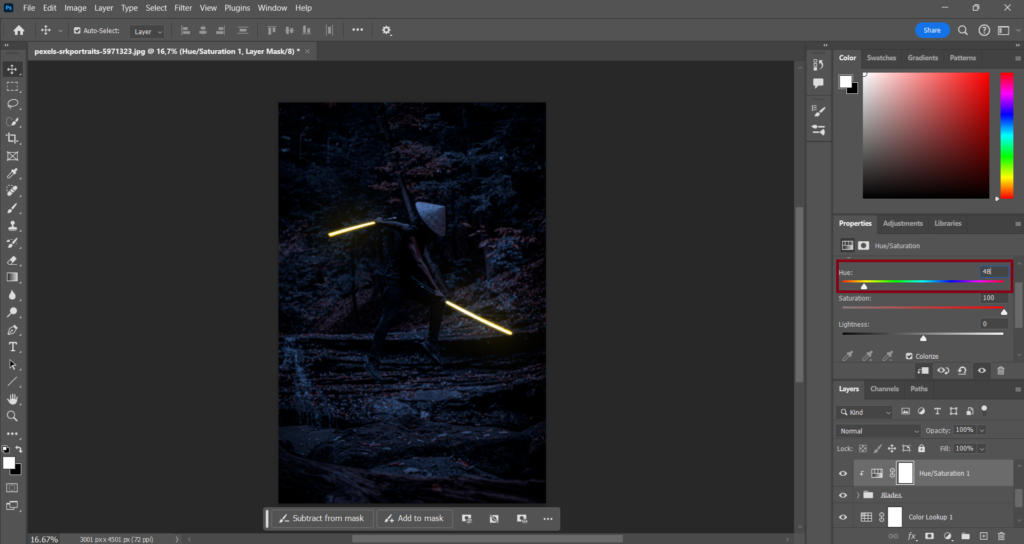
Now use the (Hue:) slider to give your glowy subject a nice color. I will be using color (48).
Step 5: Give the background color shadows
The image will look more realistic if the golden lights of the blades reflect back onto the ground. That also counts for your subject.
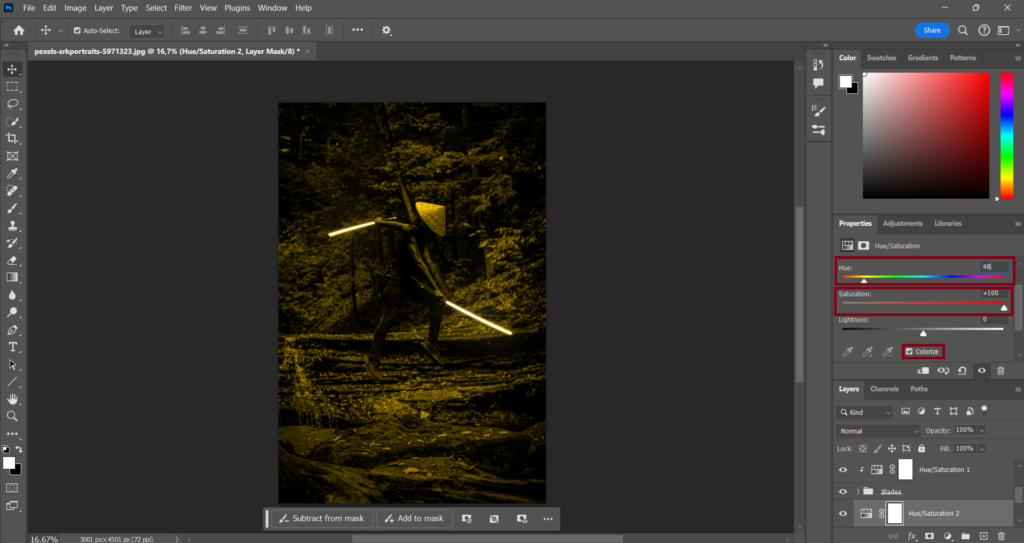
So what I am going to do is I’m going to select the Color Lookup layer if you haven’t added one you can just select the background layer as well and create a Hue/Saturation layer like you did in step 4.
After you created a Hue/Saturation layer click on (Colorize) and and turn saturation to (100). For the color you will have to use the same one you used on your glowy subject in my case, that would be (48).
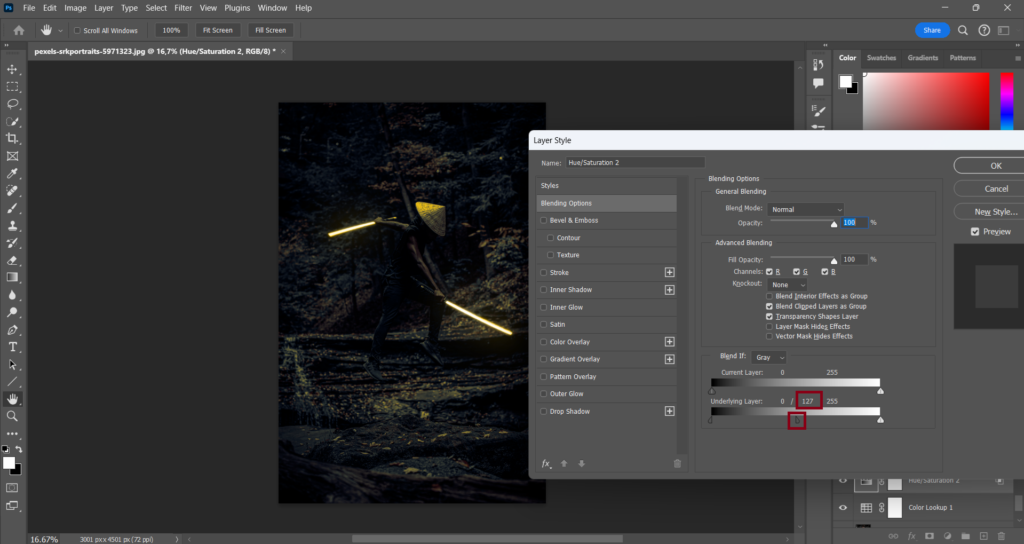
Now double-click on this Hue/Saturation layer and look at the (Underlying Layer) slider. You should see a dark little triangle-looking shape on the left side of the slider.

You can split that dark little triangle-looking shape into two pieces by holding the (Alt) and dragging the right side of the dark little triangle to the right. I’m going to leave it on (127).
I could leave things like this but there’s still one thing that bothers me about this image right now and that’s that I can see golden spots/reflection at the top of the trees and I do not want to see that there.
So I’m going to select the Brush tool make sure the foreground color is set to black and I’m going to select the white layer mask thumbnail on the Hue/Saturation layer and paint over the areas where I don’t want to see the golden reflections.
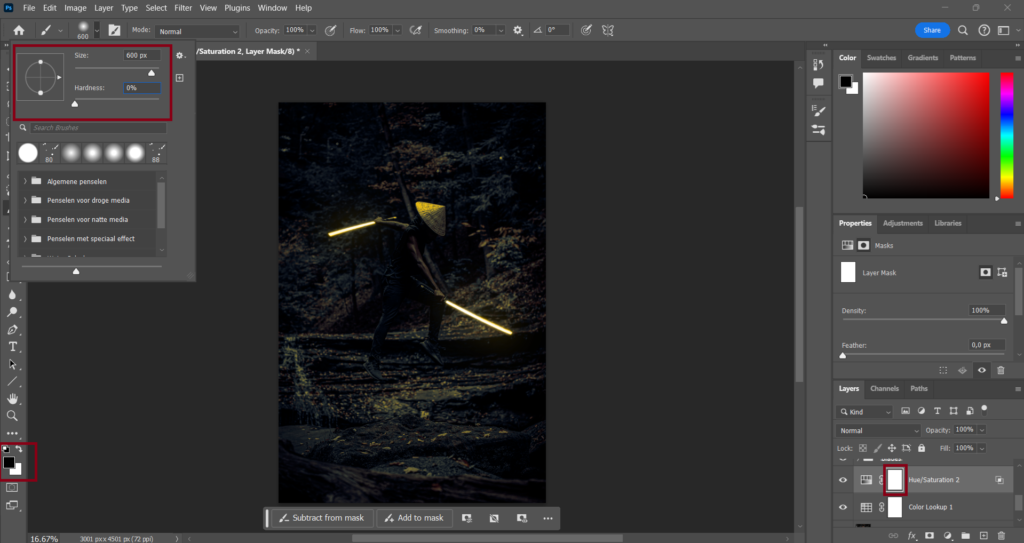
If you want to make a specific area gold again just set the foreground color to white.
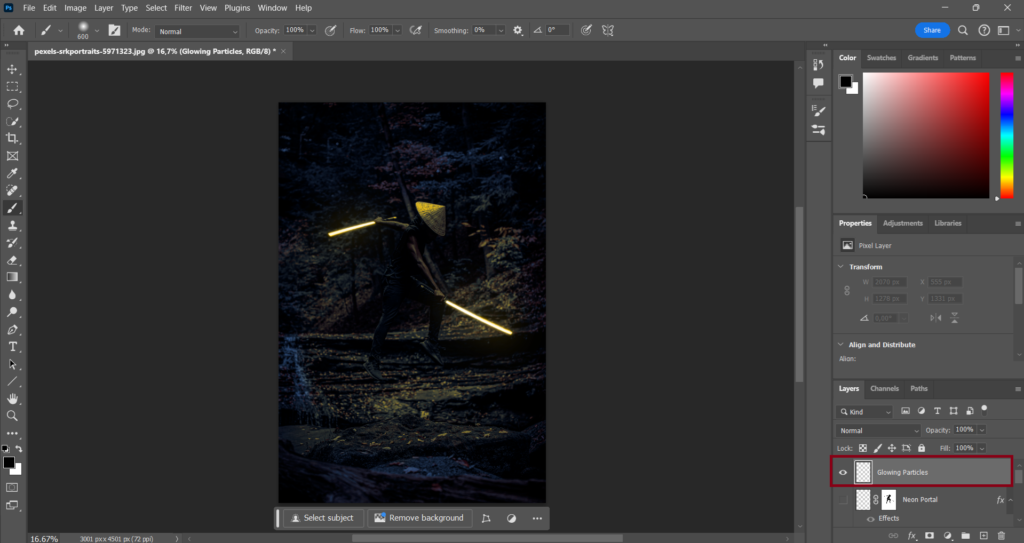
Step 6: Add glowing particles
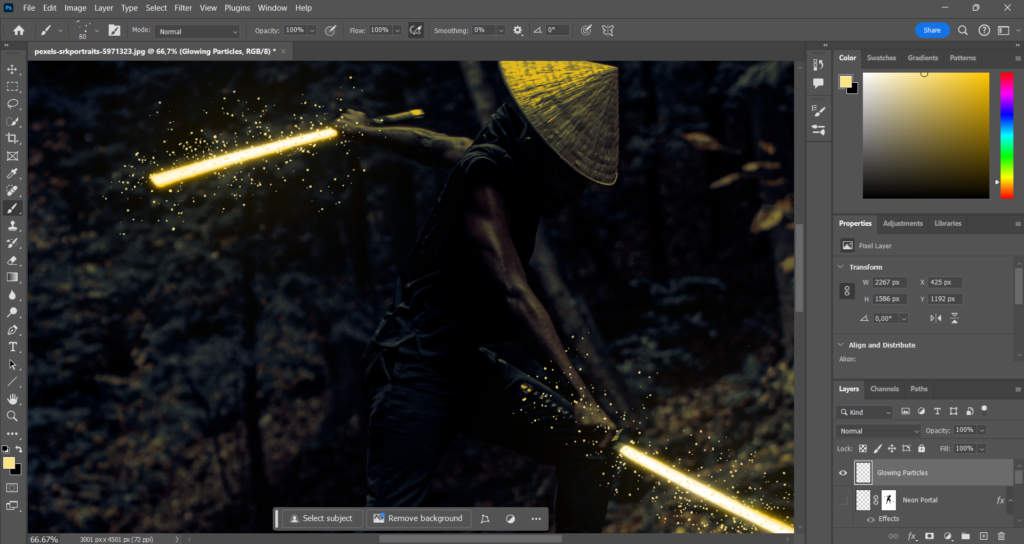
Adding glowing particles to your image will really be the cherry on the cake. In my case, I will be adding the glowing particles in front of my 2 blades.
So I’m going to select the neon portal layer and create a new layer above it.
Select the Brush tool right-click and open the (Special Effects Brushes) map.
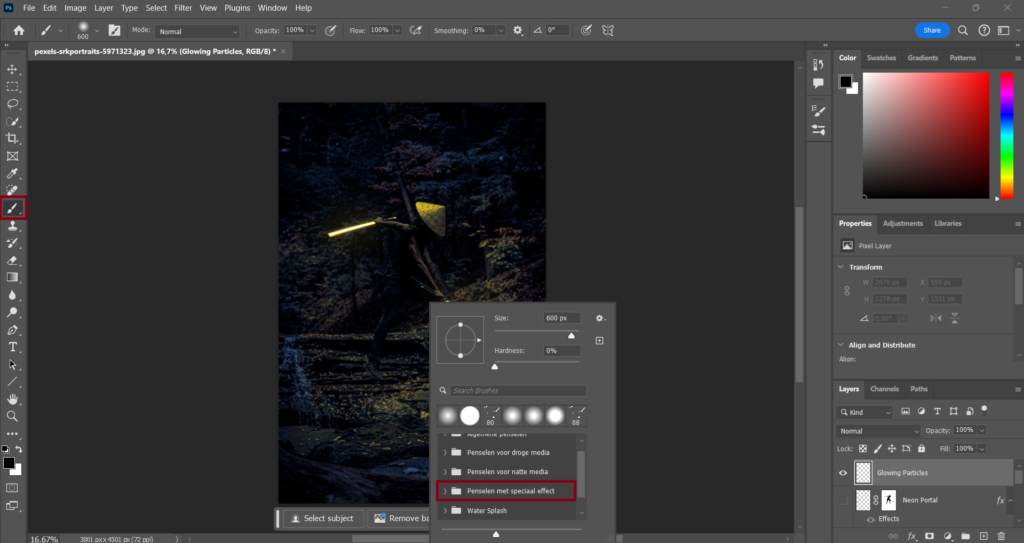
Look for the brush called (Kyle’s Spatter Brushes – Pressure Control).In the image below it looks a bit different but that’s because my version of Photoshop is not completely set to English.
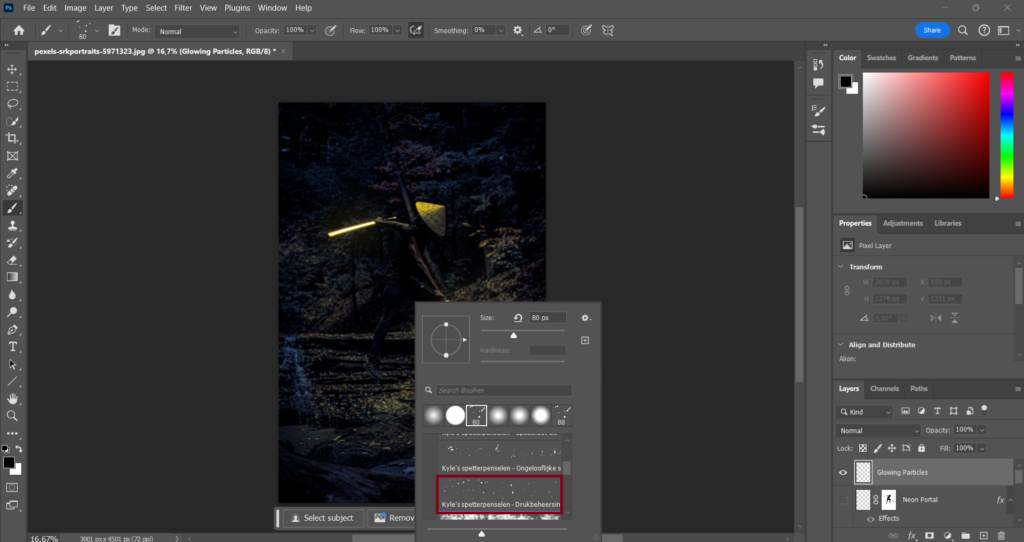
The color of the particles must be similar to the color of my blades so for the color of the brush I will be using the color: (ffe483).
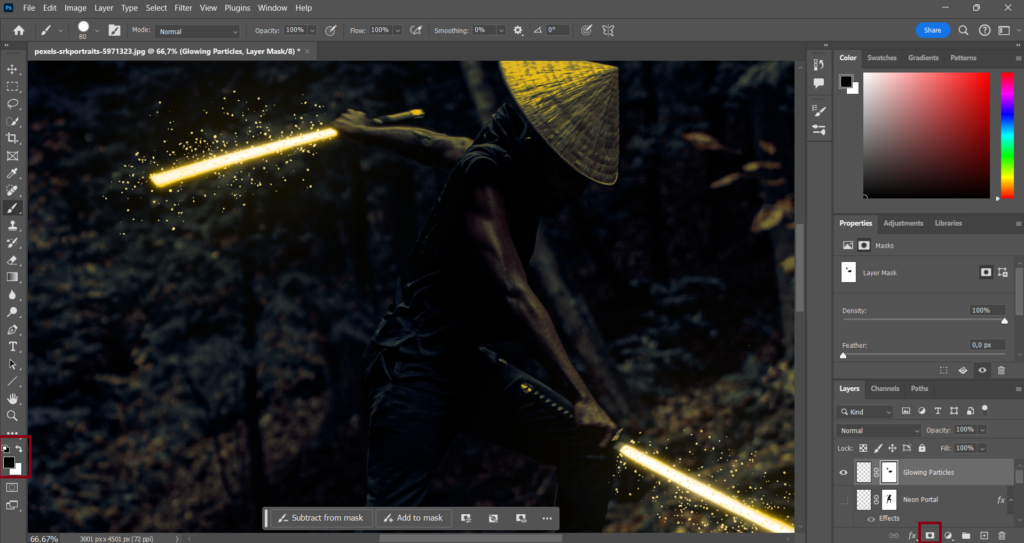
As you can see in the image above some of the particles are in front of the hands of the samurai so I will add a layer mask set the foreground color to black change my brush and paint over the areas where I don’t want the particles to be. In my case, that would be the particles on the hands/arms.
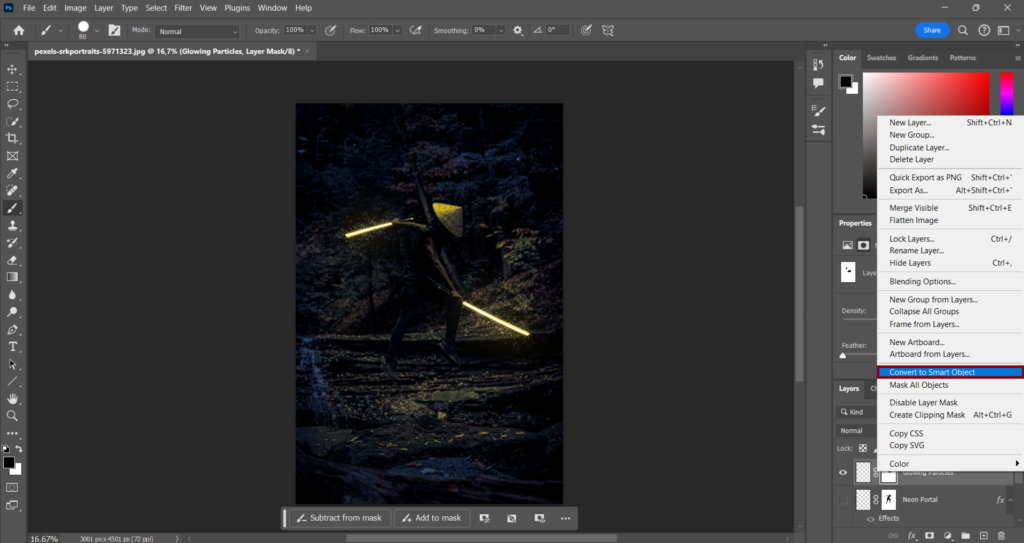
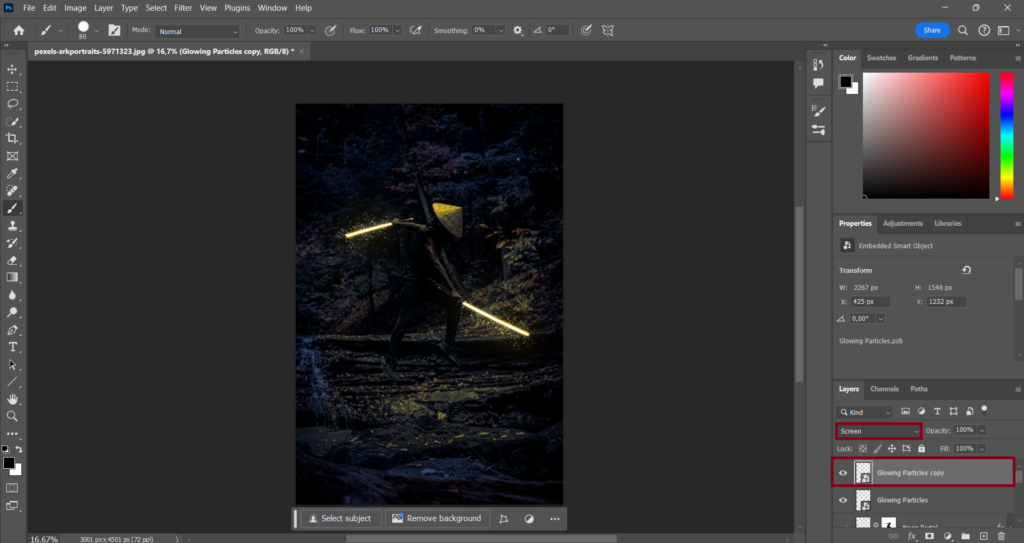
Now make sure the glowing particles layer is selected right-click on it and select (Convert to Smart Object).
Now copy that layer by pressing on (CTRL + J) or (Command + J) and change the blending mode from the layer you copied from (Normal) to (Screen).
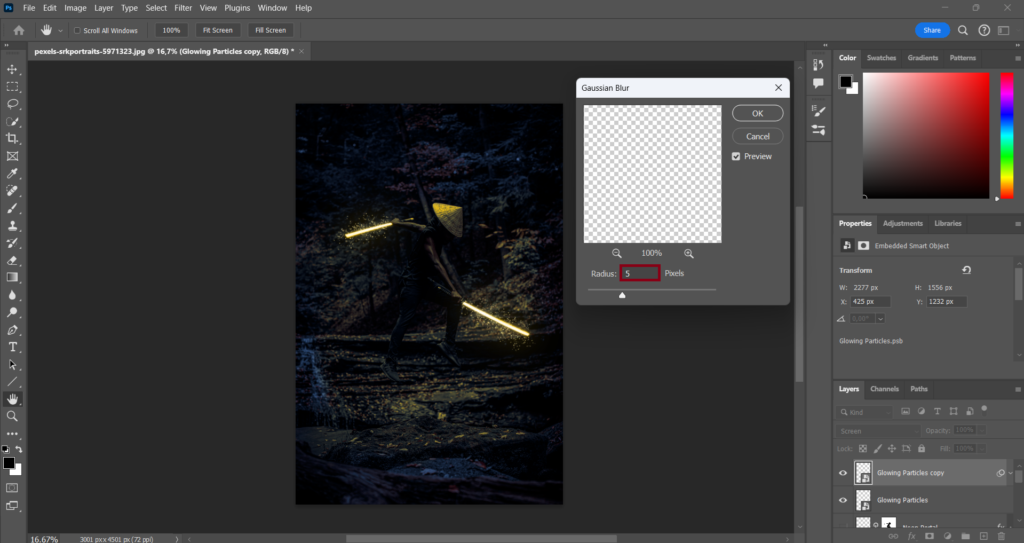
After you do that go to Filter > Blur > Gaussian Blur and choose (5) pixels.
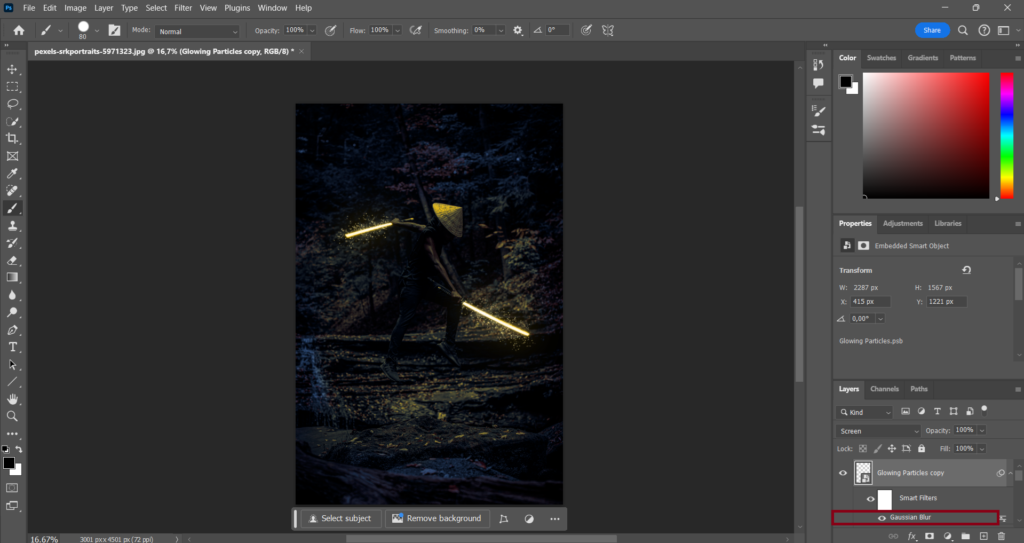
Now copy that layer again double-click on the word (Gaussian Blur) and change the pixels from 5 to (15).
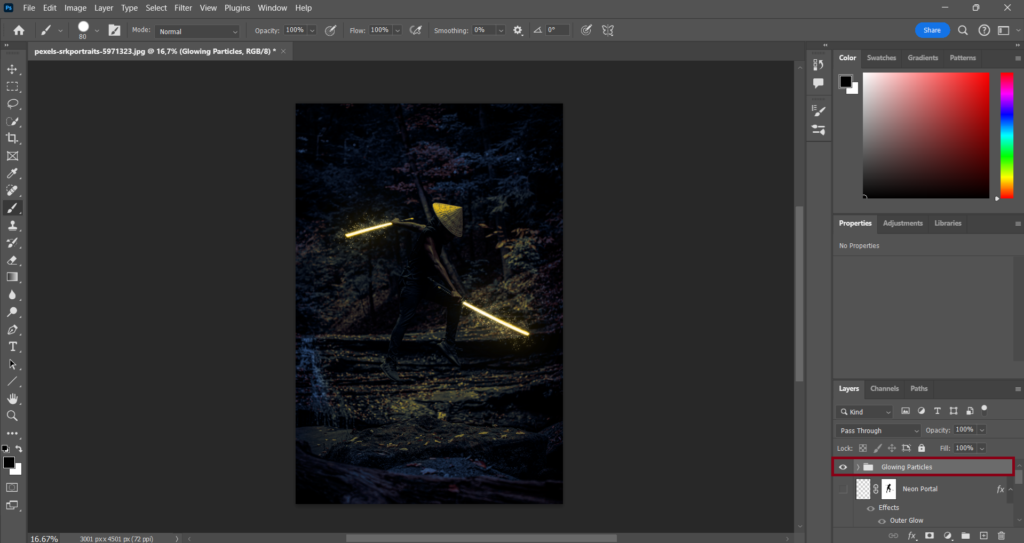
Now select all the layers that have something to do with the glowing particles layer and group them (CTRL + G) or (Command + G).
Make sure the group layer is selected and create a Hue/Saturation layer above it.
Now click on (Colorize) create a clipping mask by clicking on the square with the arrow next to it and turn (Saturation) to whatever you want.
Now use the (Hue:) slider to give your particles a nice color. Use the same color you used on your glowy subject. In my case, that would be (48).

Feel free to also make the neon portal layer visible again if you haven’t done that already.
Final thoughts
Hey everyone if you made it to this point of the tutorial congratulations I hope you now know how to make things glow in Photoshop. The reason why I said ”hope” is because this was a pretty long tutorial so I hope I didn’t make any mistakes during this tutorial.
If I did make a mistake during this tutorial or you have a question about something or whatever it is feel free to contact me and I’ll try my very best to help you with whatever it is. But yeah I don’t think there’s much to say anymore al I can say for now is to wish you the best and see you in the next one.