Whether you’re a graphic designer, car dealer, sales manager, or just a person who runs their own business having a business card can never go wrong.
Owning it can actually really help you with the growth of your business. It shows people that you really take care of your company and do things the professional way.
But in this article, I’m not gonna talk every second about why it’s important to own a business card I mean we all know it’s wise to own one after what I just said.
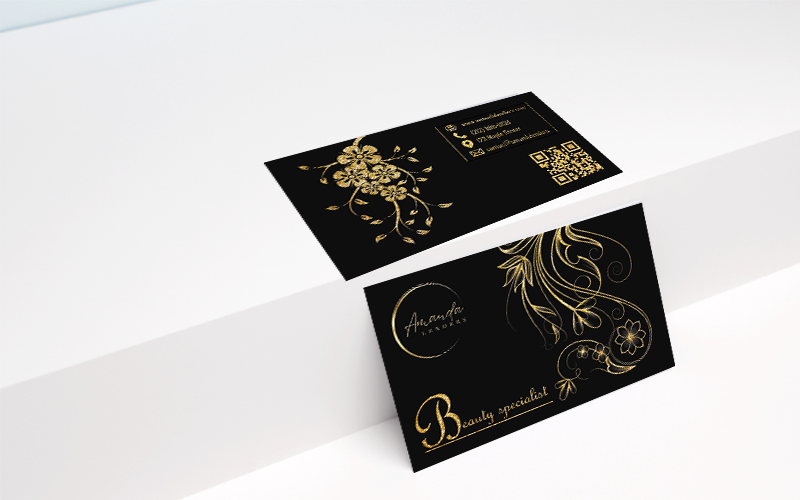
In this article, I will show you everything I did to create this luxurious floral business card using Adobe Photoshop.
But before we dive into all the things I did I do want to make it clear that this was not designed for a real client this was just something I wanted to share with you guys.
Creating the front side of the card
Usually, when creating a business card you start off by creating the front side of the card so that’s exactly what I did.
Step 1: Choosing the right document settings
When it comes to creating business cards it is important to note that using the right document settings is a crucial step especially if you’re planning on printing them out.
The most common settings people use to create a business card are,
- Size: (3,5) inches in with and (2) inches in height
- Resolution: (300)
- Color Mode: (CMYK Color) if you want to print it out
- Background Contents: (White)
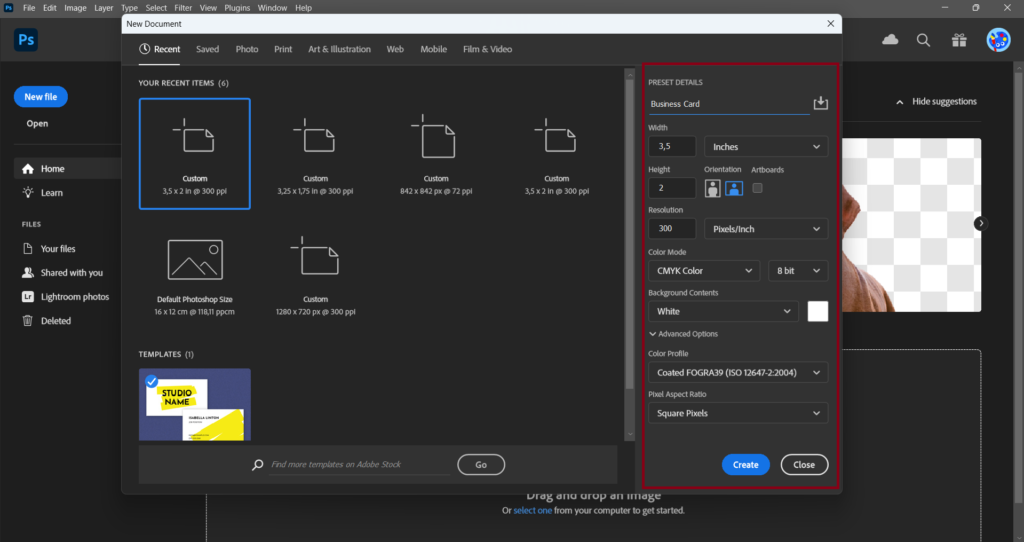
As I said earlier most people use these settings if they want to create a business card so I just went with it as well.
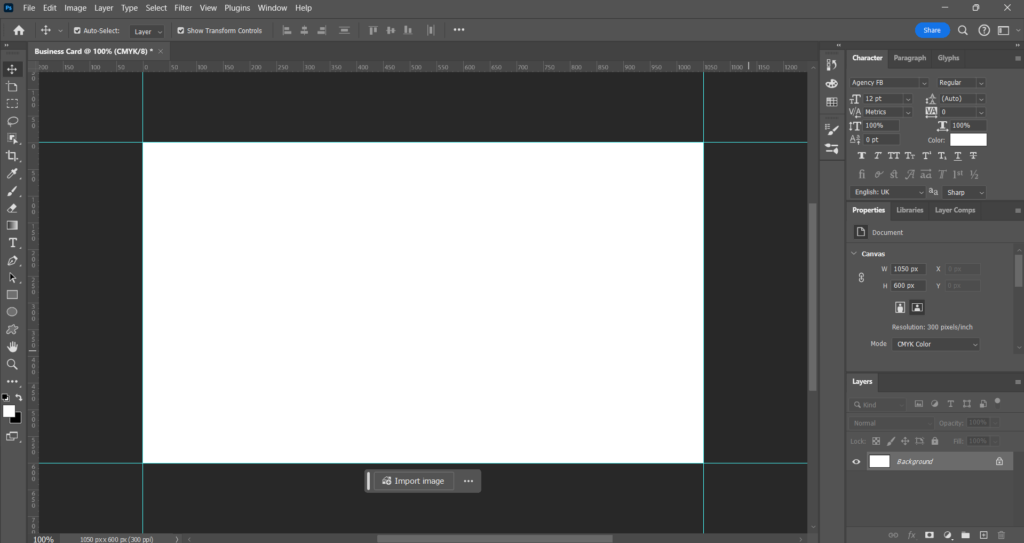
Step 2: Adding bleed lines to the canvas
Bleed lines indicate areas where the printer can trim the paper without affecting the design. These lines serve as crucial guides to ensure that important elements such as text, logos, or contact information are not too close to the edges of the card.
To set up bleed lines, I revealed the rulers in Photoshop by pressing (Ctrl + R) or (Command + R). Then, dragged two guidelines from the vertical ruler—one at the top and one at the bottom of the canvas.
I repeated this process with the horizontal ruler, placing guidelines horizontally.
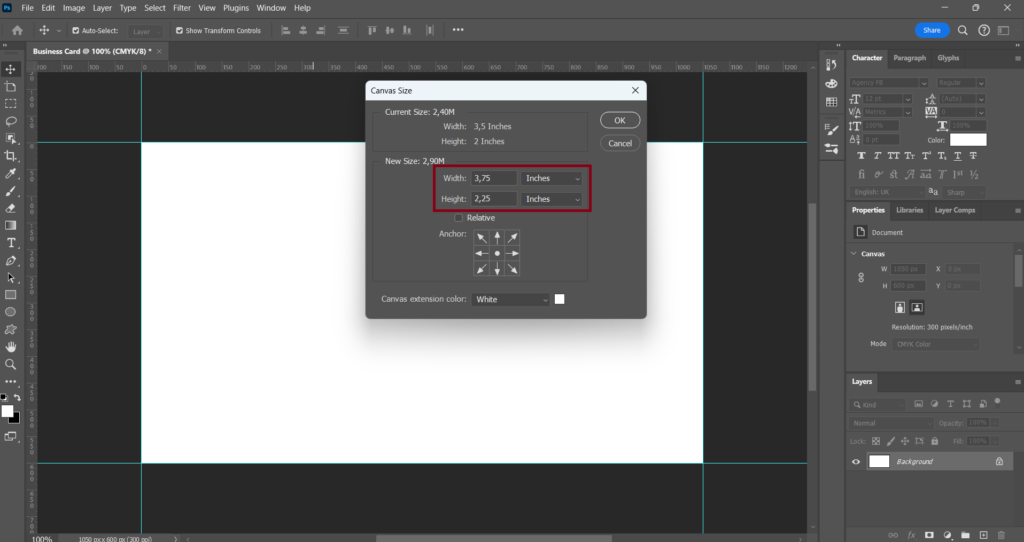
Then I navigated to (Image) > (Canvas Size) and ensured the units were set to (Inches), not (Pixels). I Increased both the width and height of the canvas by adding (0.125) inches to make room for the bleed.
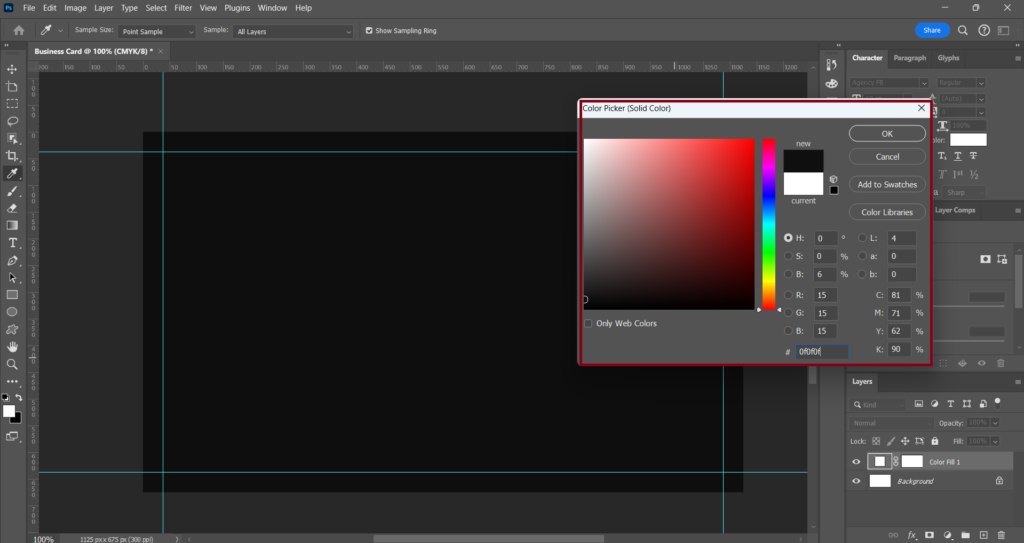
Step 3: Creating the background of the card
Oke now that I’m finally done talking about the boring parts of this article it’s time to jump into the fun parts.
So yeah creating a luxurious background. First I clicked on the half-full circle under the layer panel and selected (Solid Color). For the background of this card, I choose the color (0f0f0f).
Step 4: Adding a flower to the card
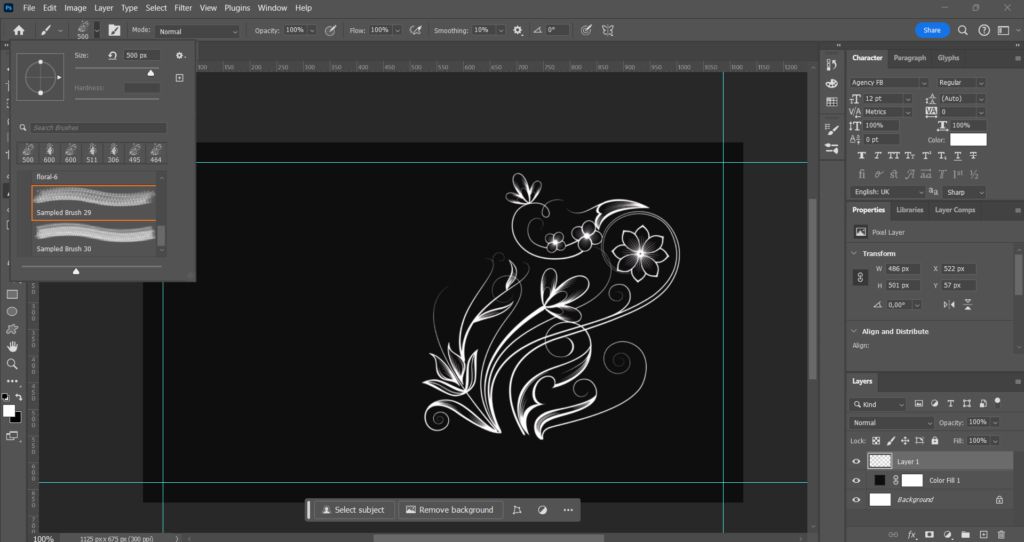
Unfortunately, Photoshop has no built-in flower brushes but that’s fine because you can import custom brushes from other websites into Photoshop.
I went to this page downloaded the 2 beautiful flowers and imported the flower file to my brushes. After that, I created a new layer, selected the (Brush tool), and went to my brushes.
I selected the flower brush you see below in the image and added it to the canvas.
After that, I activated the transform controls right-clicked on my flower, and flipped the flower vertically.
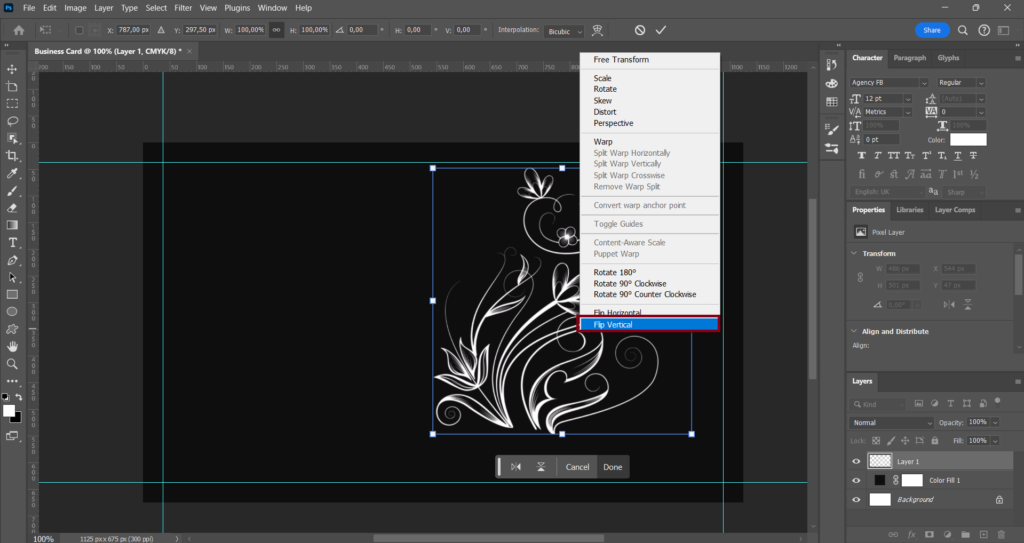
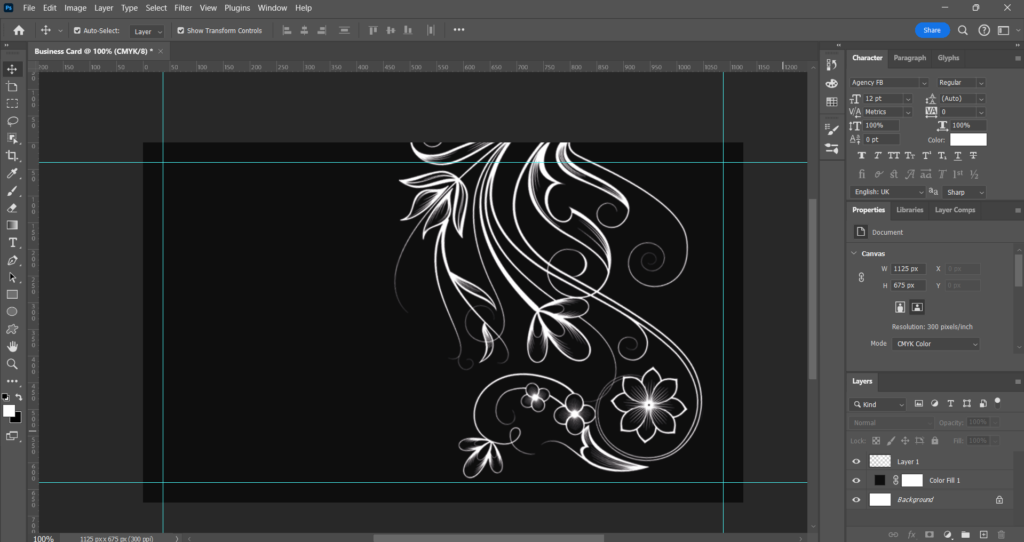
I then also made it bigger rotated it a bit and just played around with it till I liked how it looked and was positioned.
Step 5: Adding text to the card
As I said earlier in this article this card was not designed for a real person. But let’s just act like I was creating this business card for a beauty specialist called Amanda Lenders.
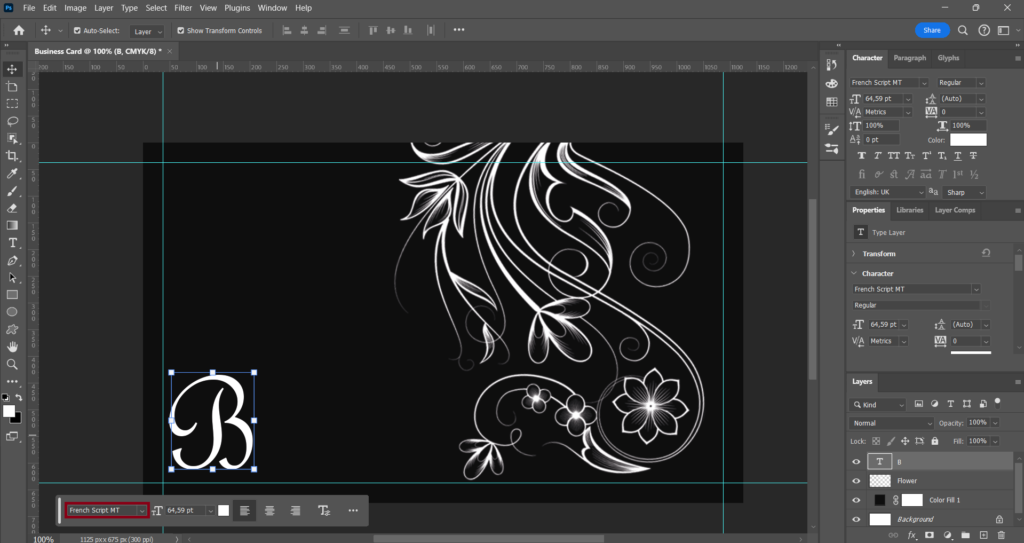
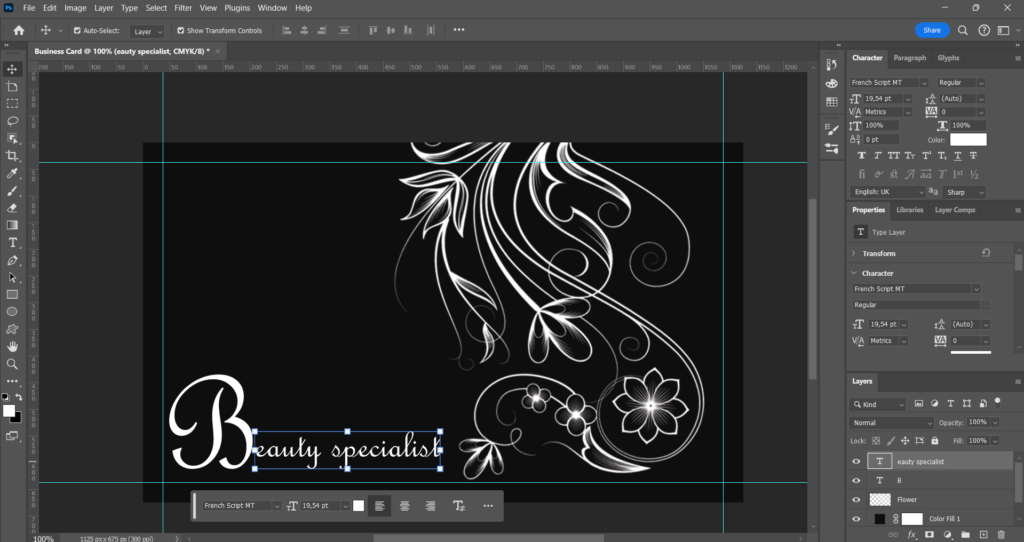
First I selected the (Text tool) and only typed the letter (B). Then I made the letter (B) bigger and changed the font to (French Script MT).
Then I selected the (Text tool) again typed in (eauty specialist) and changed the font also to (French Script MT). I also made the text a bit bigger but not as big as the letter (B)
After that, I positioned the text (eauty specialist) next to the big letter (B). And that’s it for the text.
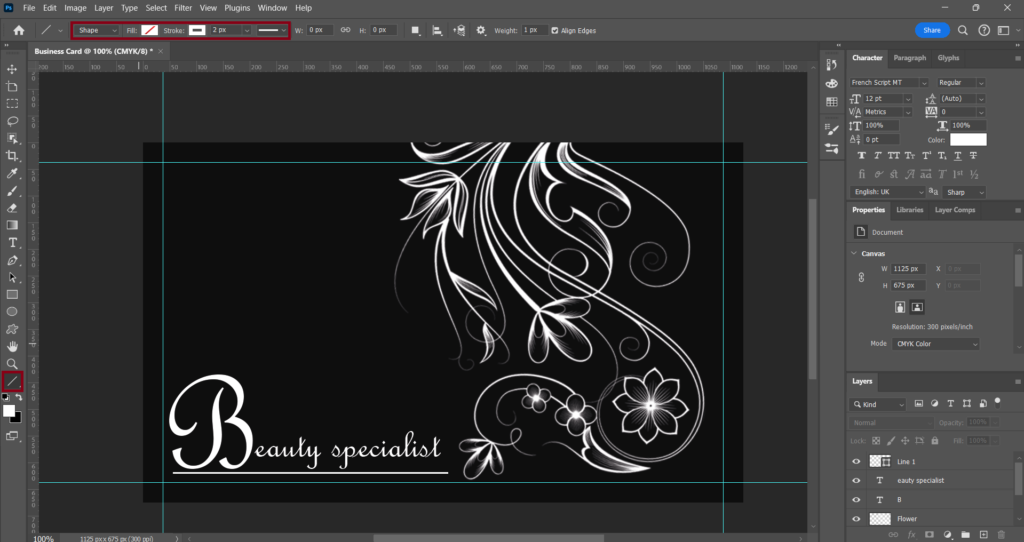
I also added a line under it using the (Line tool).
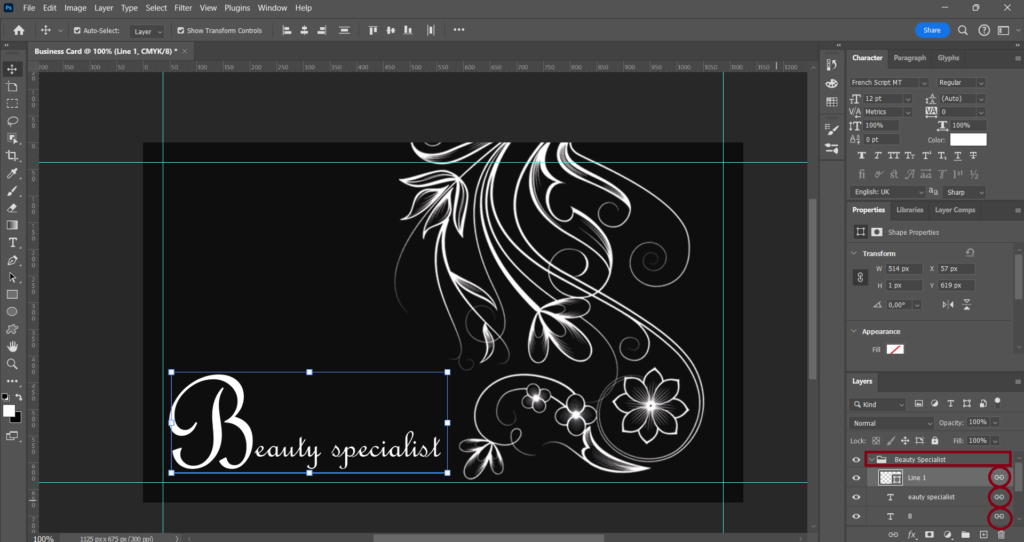
One last thing before we head over to the next step I also grouped and linked the text, the letter (B), and the line together. So if you’re following me in Photoshop throughout this article do that too.
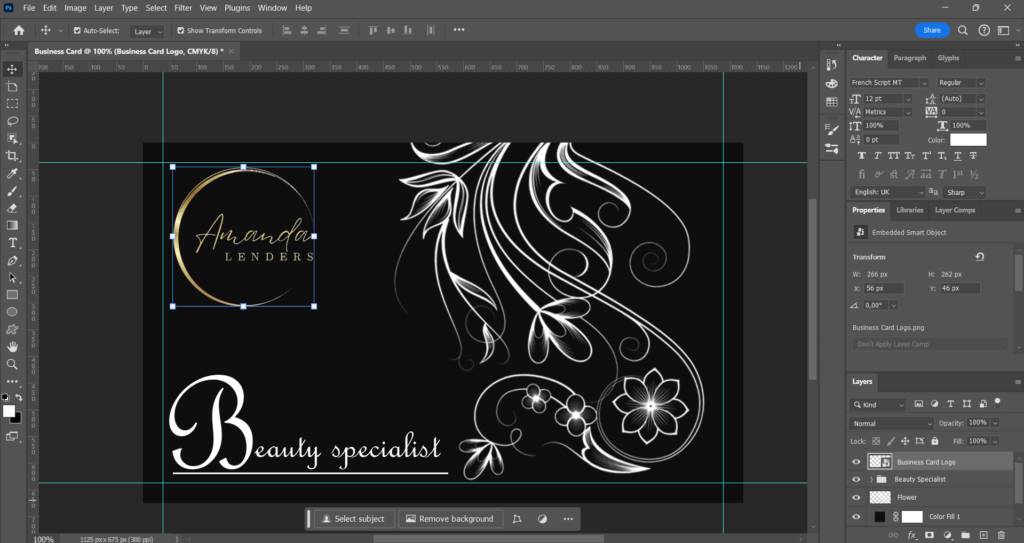
Step 6: Adding a logo to the card
Adding your logo to the front of your business card is always a smart move. So I went to Canva and created my logo from there.
Then I went back to Photoshop clicked on (File) selected (Place Embedded) and added the logo I created in Canva to Photoshop.
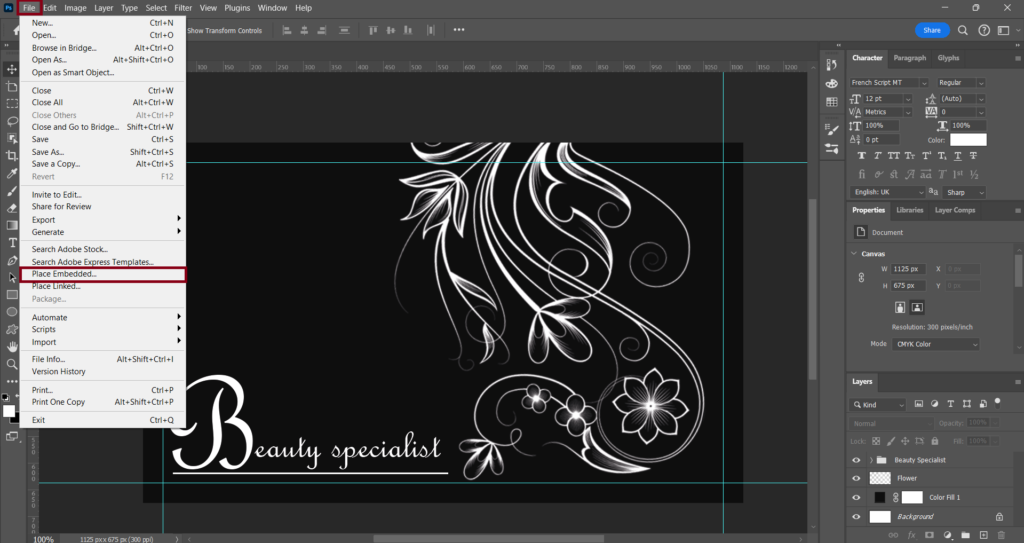
I then made it a bit smaller and placed it in the top left corner of the card.
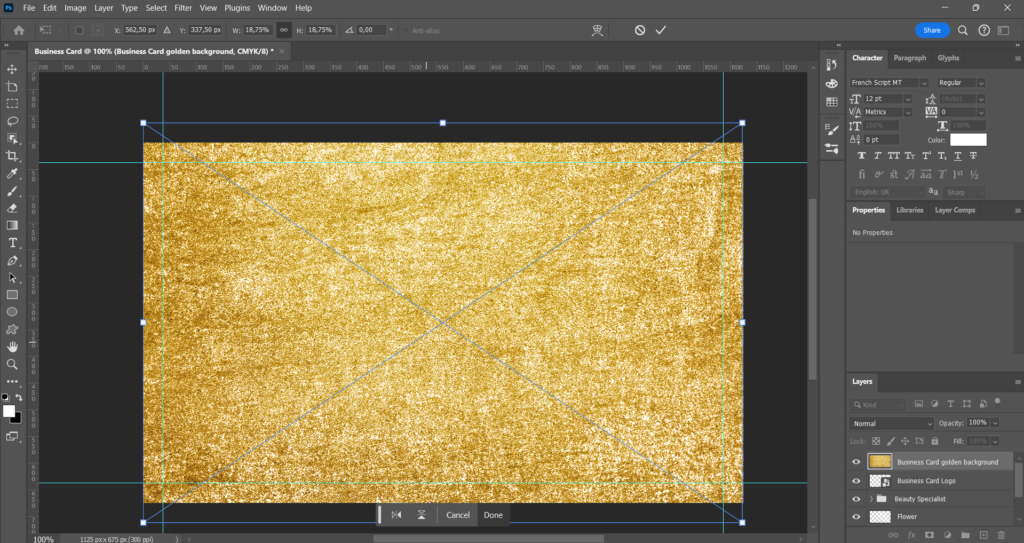
Step 7: Adding a golden effect to the card
Firstly I went to this page and downloaded the golden background.
I then went back to Photoshop clicked on (File) selected (Place Embedded) and added the golden background to my canvas.
I resized the golden background so that it covers up my whole canvas.
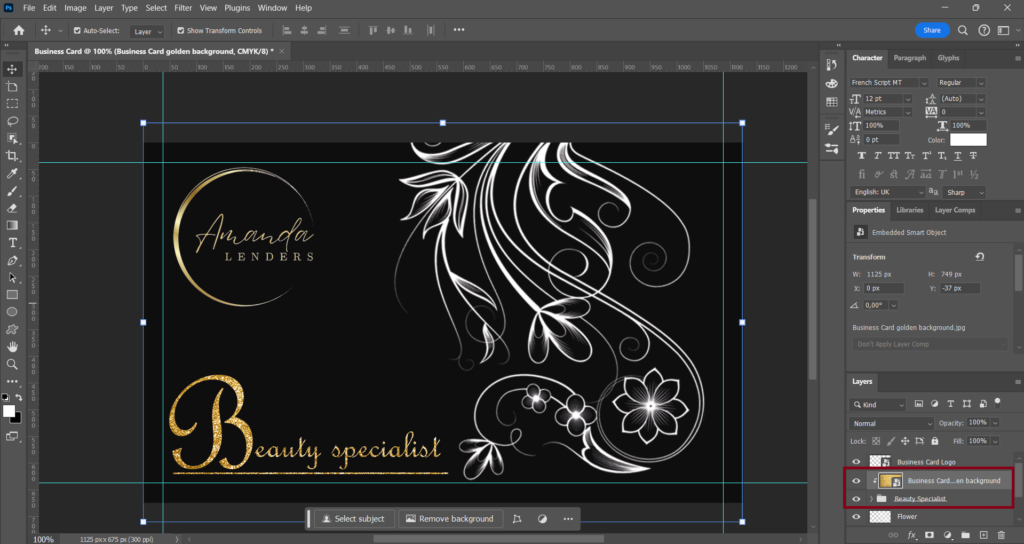
After that, I placed the layer of the golden background above the (Beauty Specialist) group layer because my logo already has a bit of a golden color so I will only add the golden color to the flower and the text.
After that, I pressed (ALT/Option) and clicked on the line between the golden background layer and the (Beauty Specialist) group layer. The color of the text immediately changed to gold.
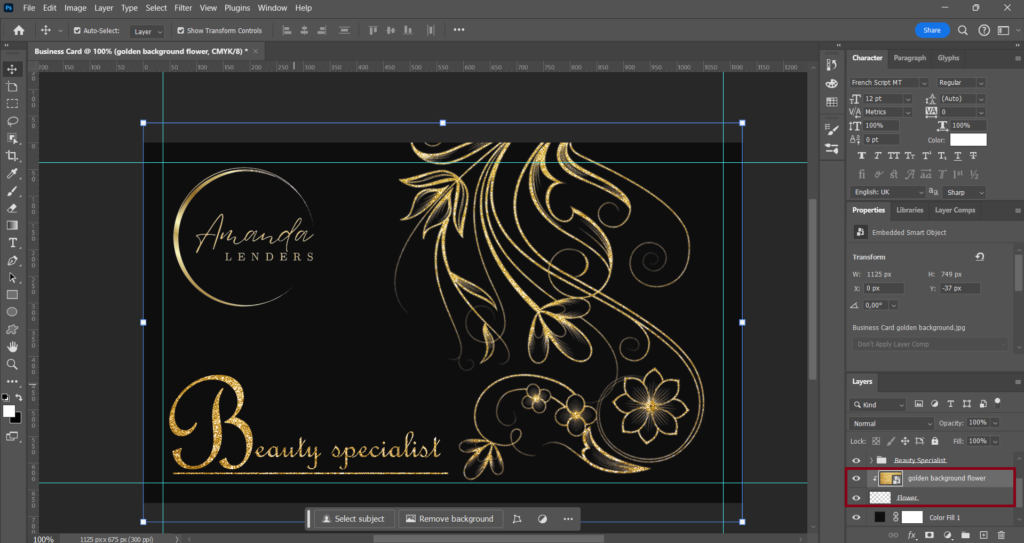
Then I duplicated the golden background layer again and did the same things again but then with the layer of the flower.
Creating the backside of the card
Step 1: Adding contact information to the card
Firstly I selected every layer that had something to do with the front side of the card except for the background of course and grouped them.
I called that group (Front side) and hid it by clicking on the little eye icon next to it.
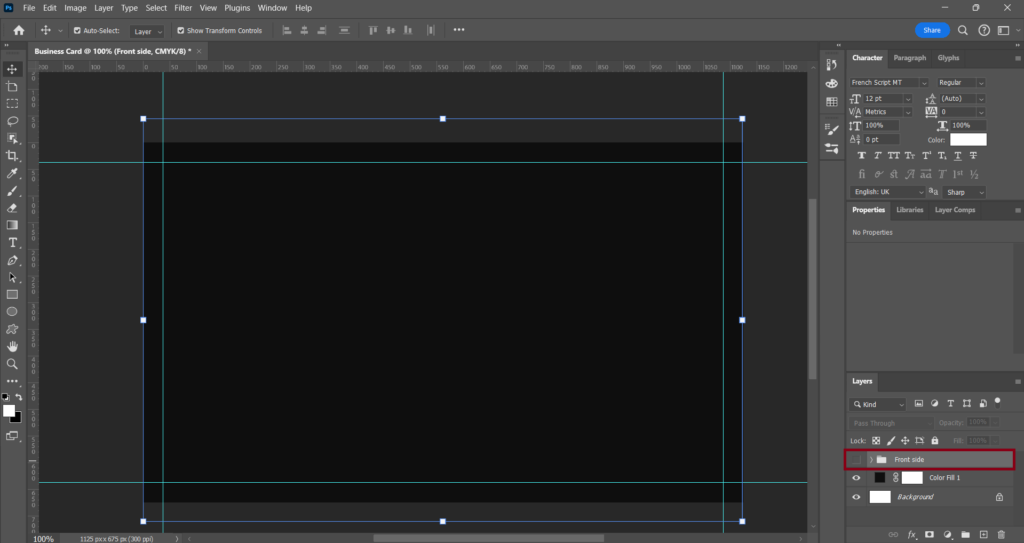
The reason why I did this is to avoid confusion and most important of all the backside of the card can’t look the same as the front side of the card.
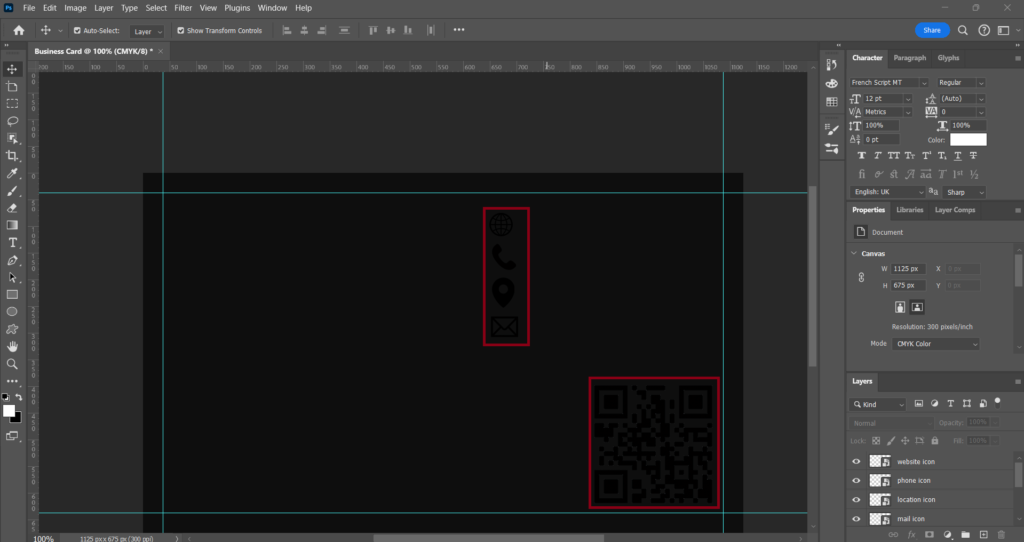
But yeah back to the contact information part. I browsed through the internet till I found 4 transparent contact icons. I downloaded an email, phone, website, and location icon.
Almost forgot I also downloaded a transparent QR code for the backside of my card.
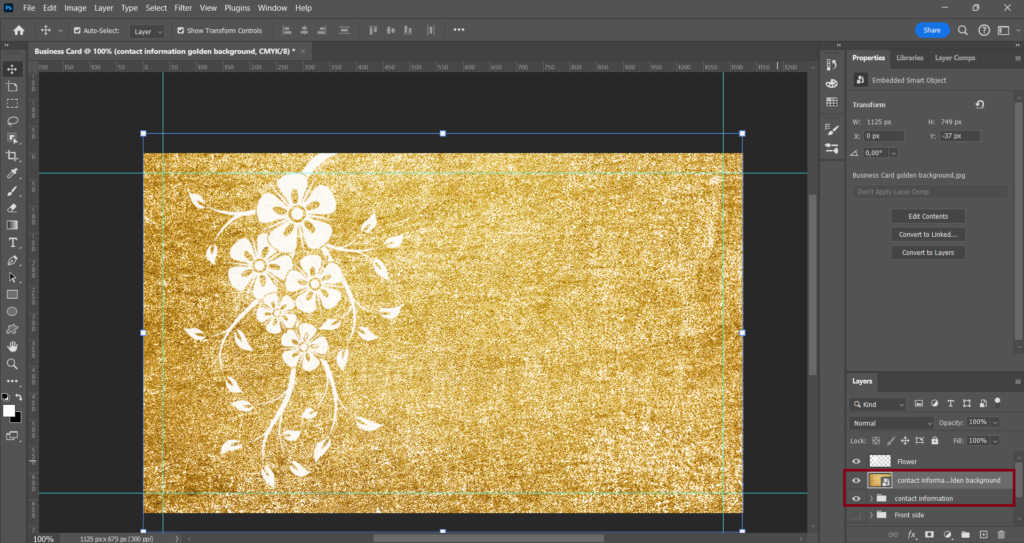
I then went back to Photoshop went to (File) > (Place Embedded) and added all my 5 contact elements to my canvas.
Unfortunately, all my 5 contact elements came in black but fortunately, the background of my card isn’t completely black so I could still see a bit and place them accordingly on my card.
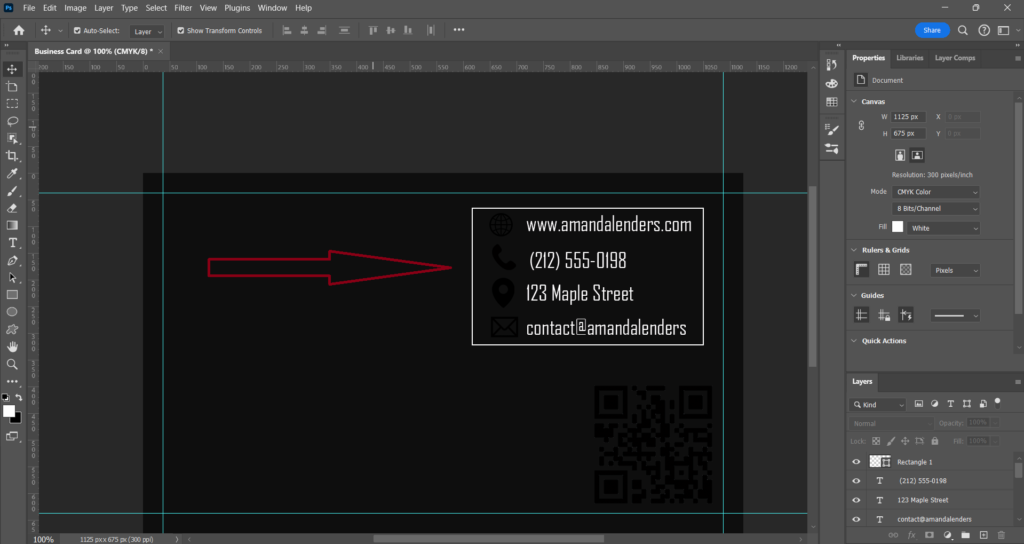
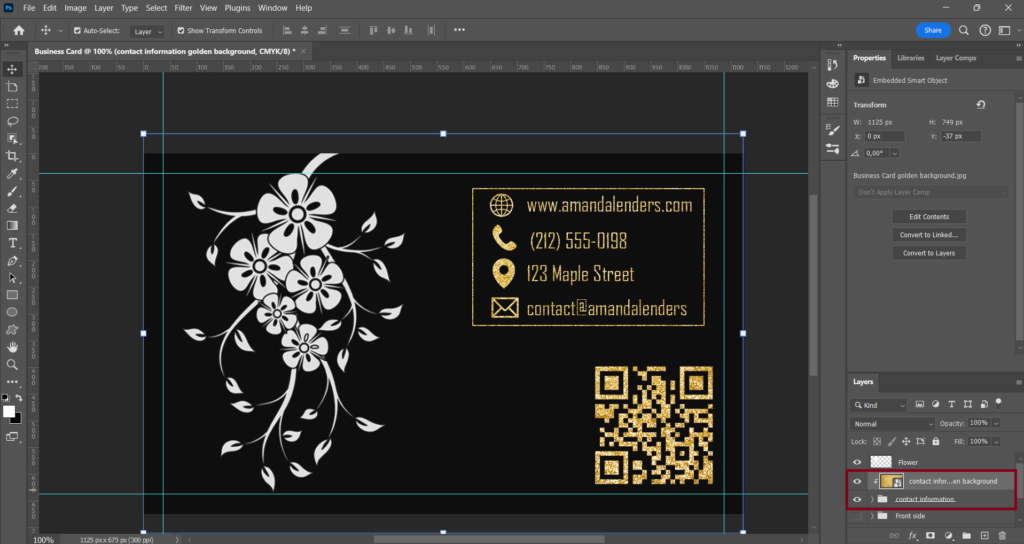
After placing my contact elements accordingly on my card I added some text information next to each contact icon using an (Agency FB) font.
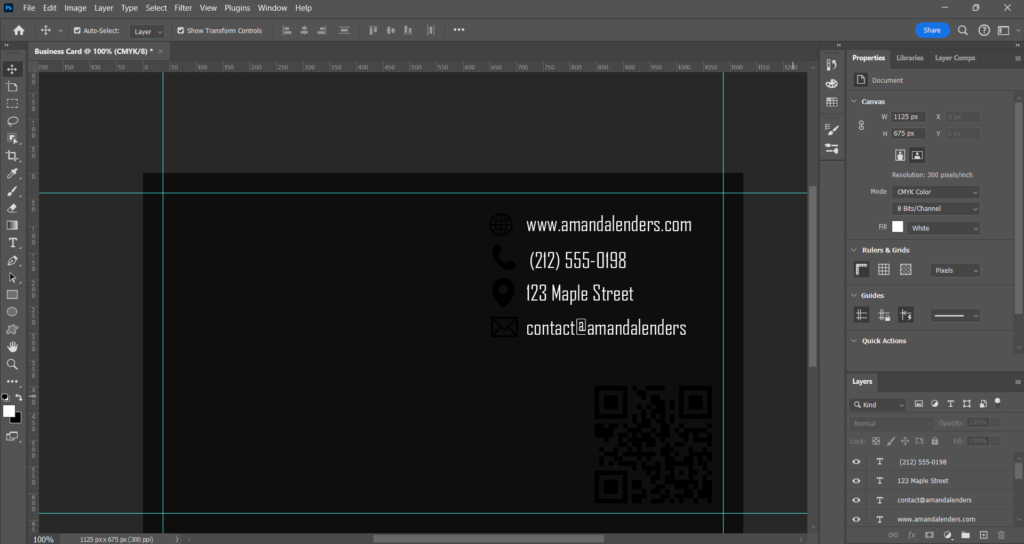
I then selected the (Rectangle tool) and gave the (Fill) no color.
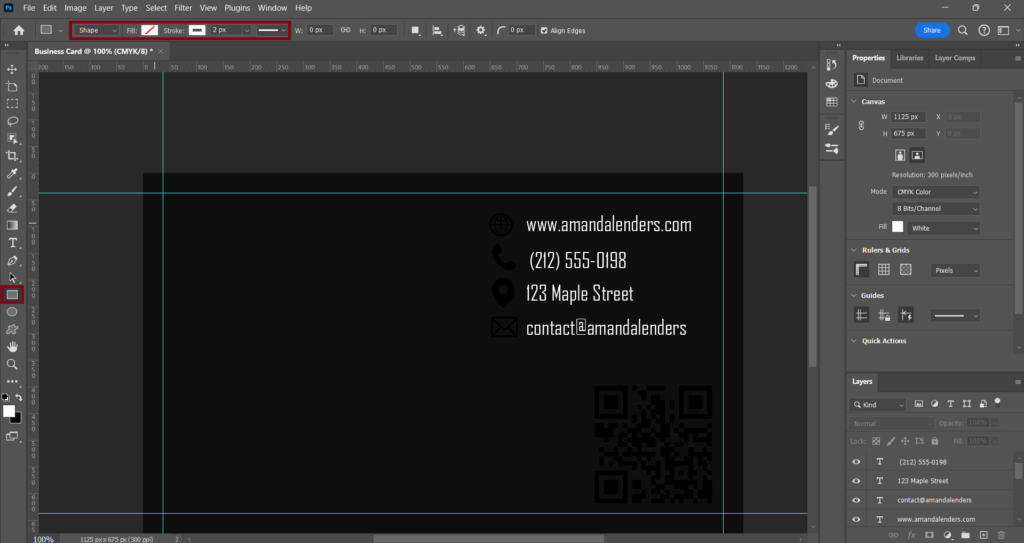
I don’t really know how to explain this perfectly using text but look at the image below to see what I did.
I then selected every layer that was connected to my contact information and grouped them. I called that group (contact information).
Step 2: Adding a flower to the card
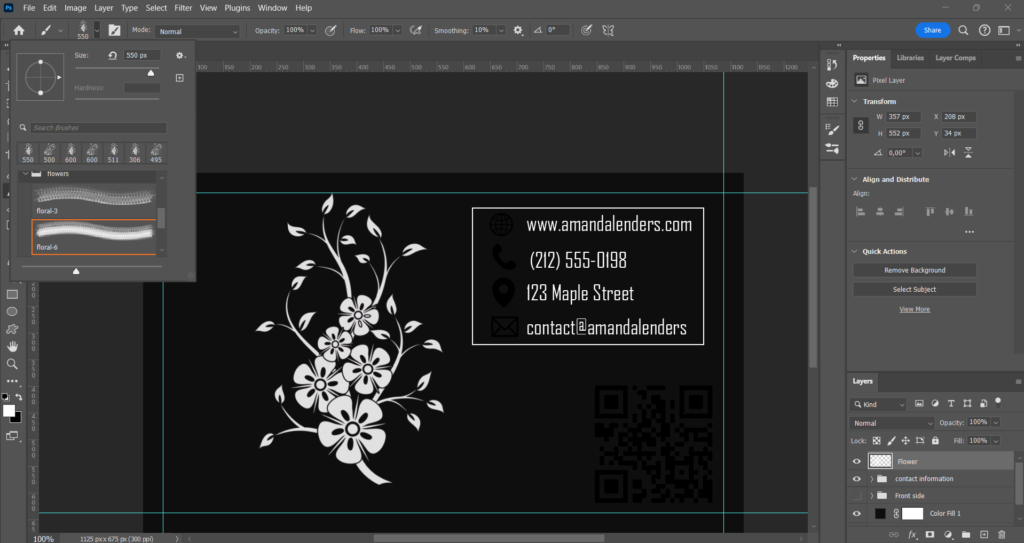
I didn’t want to use the same flower I used for the front side of my card so I went to this page downloaded the file and imported the flower file to my brushes.
After that, I created a new layer, selected the (Brush tool), and went to my brushes.
I selected the flower brush you see below in the image and added it to the canvas
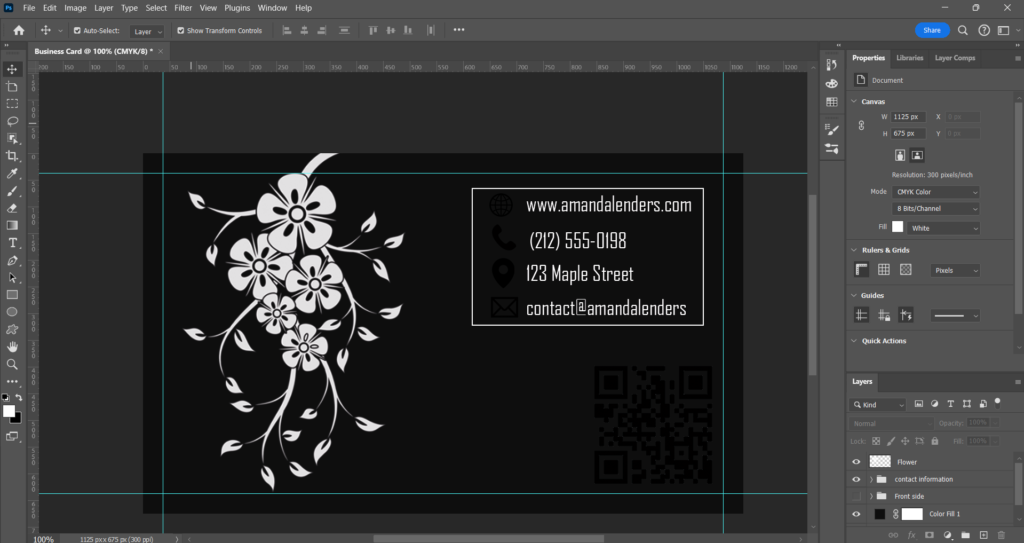
After that, I activated the transform controls right-clicked on my flower, and flipped the flower vertically.
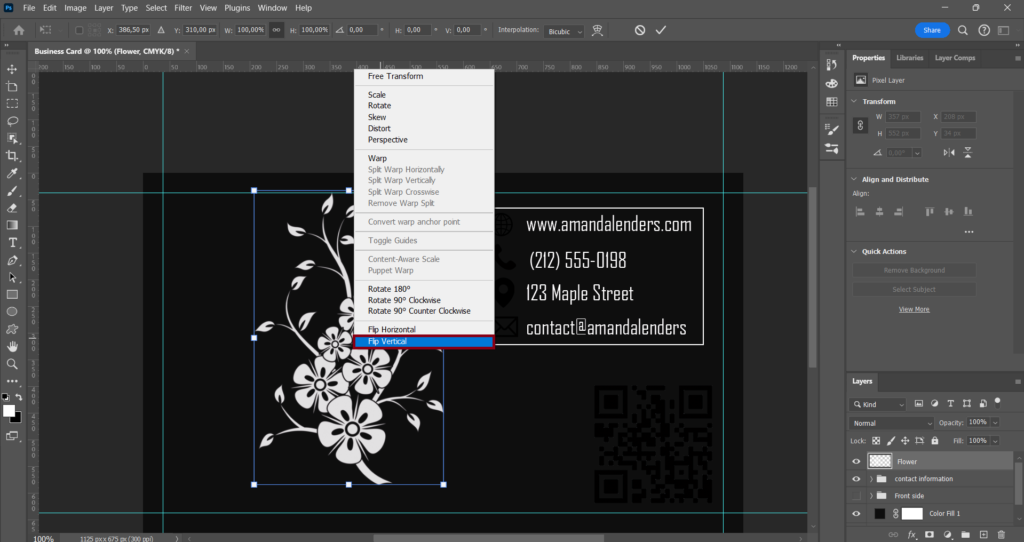
I then also made it bigger rotated it a bit and just played around with it till I liked how it looked and was positioned.
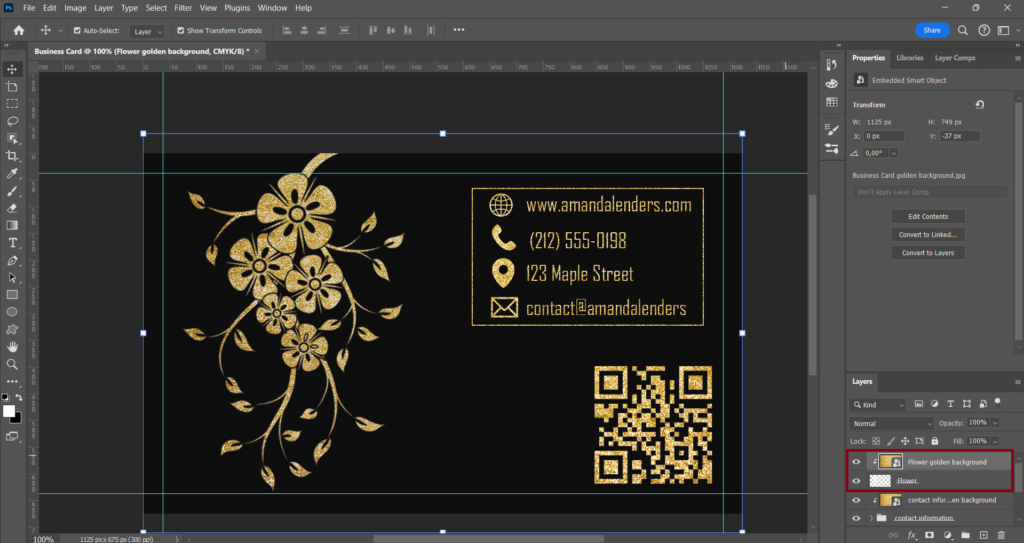
Step 3: Adding a golden effect to the card
I opened my (Front side) group duplicated the golden background layer and dragged it above my (contact information) group.
I then pressed (ALT/Option) and clicked on the line between the golden background layer and the (contact information) group layer. Every layer in that contact information group turned gold.
Then I duplicated the golden background layer again and did the same things again but then with the layer of the flower.
After that, I selected every layer that had something to do with the backside of my card and grouped them. I called that group (backside).
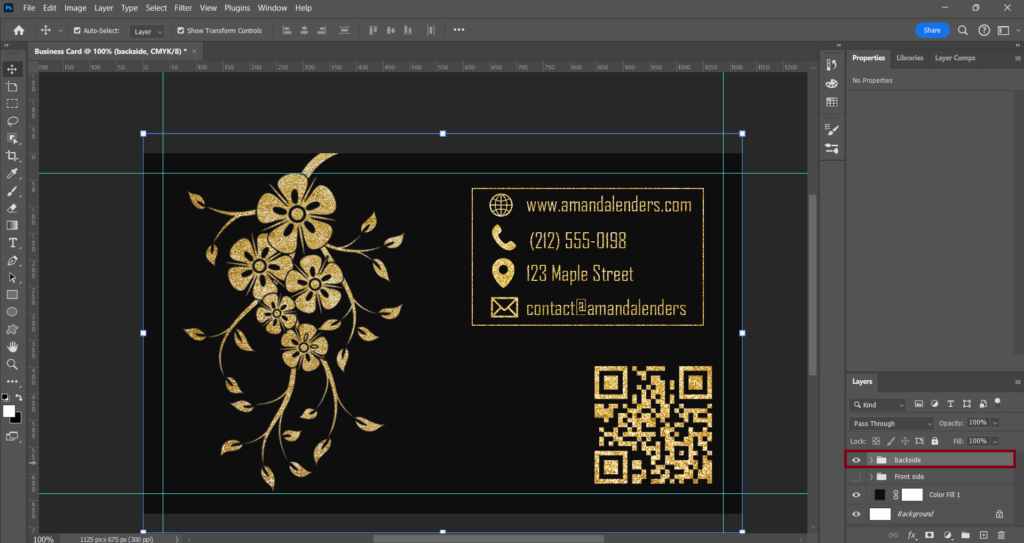
The reason why I did this is because if I want to download the backside of the card I hide the front side of the card and export my backside and vice versa.
Final thoughts
Here you are at the end of this article. First of all, I want to say that this was definitely one of my most favorite articles I ever wrote. I was blown away by how easy Photoshop it makes for us to create this luxurious floral business card in a very short amount of time.
If you were following me in Photoshop throughout this article I really hope you now also know how to do this. If not and you have a question about something or noticed a mistake during this article please contact me and I will try to respond as quickly as possible wish you the best;)