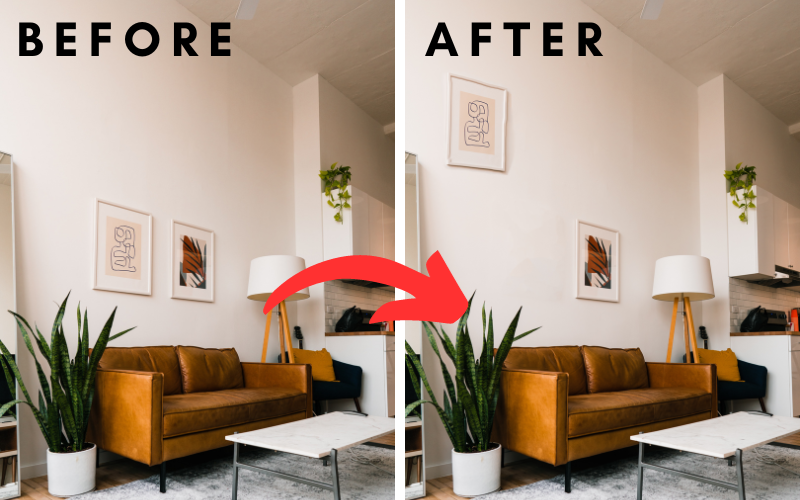
In today’s tutorial, you will learn how to move an object in Photoshop using the content-aware move tool. With this powerful tool, you can seamlessly reposition objects in Photoshop. So you don’t need to be Einstein to complete this task.
Moving objects in Photoshop using the content aware move tool is one of my favorite things to do in Photoshop because it’s such an intelligent tool and I am very happy I could share it with you today. So with that being said let’s have a look at how to move objects in Adobe Photoshop.
Using the content-aware move tool in Photoshop
The content-aware move tool is one of the mind-blowing features that seems to work by magic. So basically what it does is that if you move an object normally let’s say you use the move tool to move an object there will be a hole in the photo. But if you use the content-aware move tool, photoshop will automatically fill in that hole so that it matches with the background. So let’s have a look at how to use this tool in Photoshop.
But before we do that it might be smart to duplicate your photo layer so that if anything goes wrong you still have the original image.
Step 1: Make a selection
1. To get started you will first have to make a selection around the object you want to move. In most cases, you will probably only need to use the (Lasso Tool) To make a selection.
2. But you could also use other selection tools To make a selection. So just select a selection tool that goes well with your object.
3. Now draw a selection around the object.
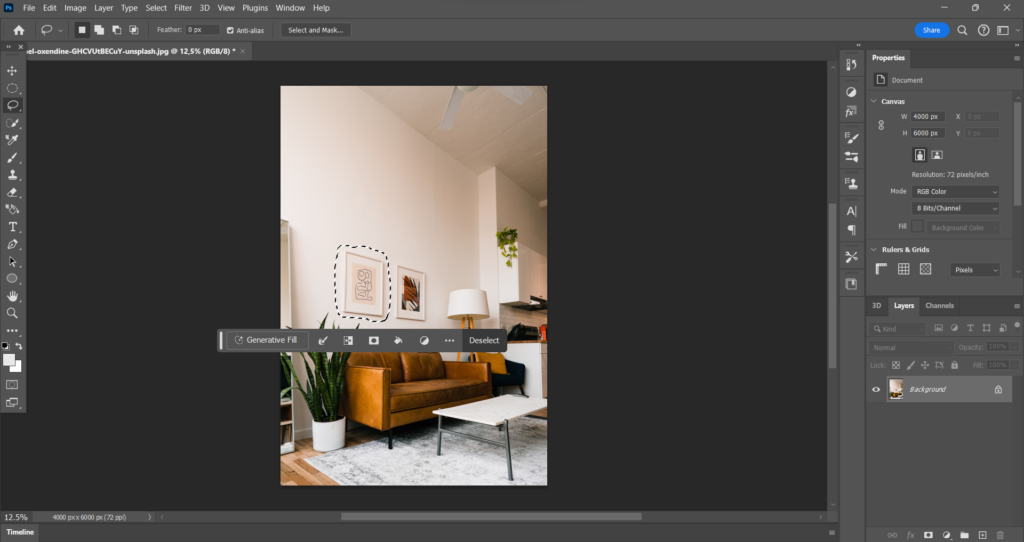
(Quik Tip): If you make a selection make sure there is a bit of space between the object and the selection lines.
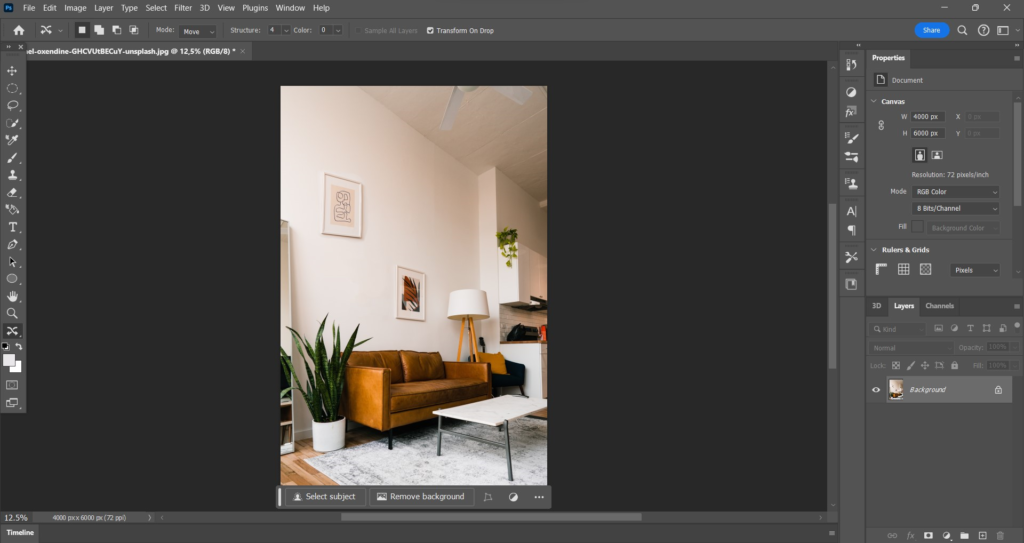
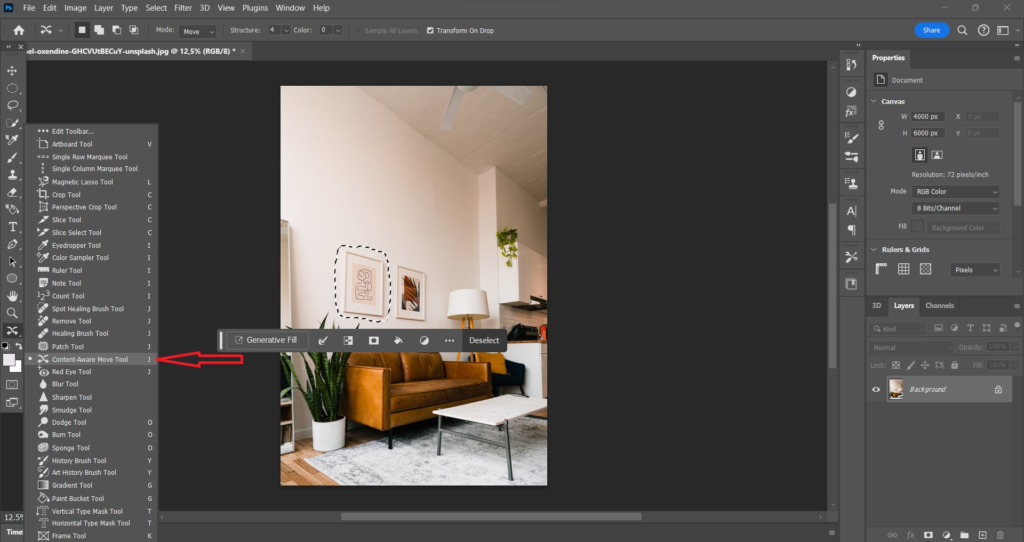
Step 2: Activate the tool
1. Look at the left side of the Photoshop workspace and you will see the vertical toolbar.
2. Click and hold the icon with the 3 dots. Now you’ll see several tools including the (content-aware move tool).
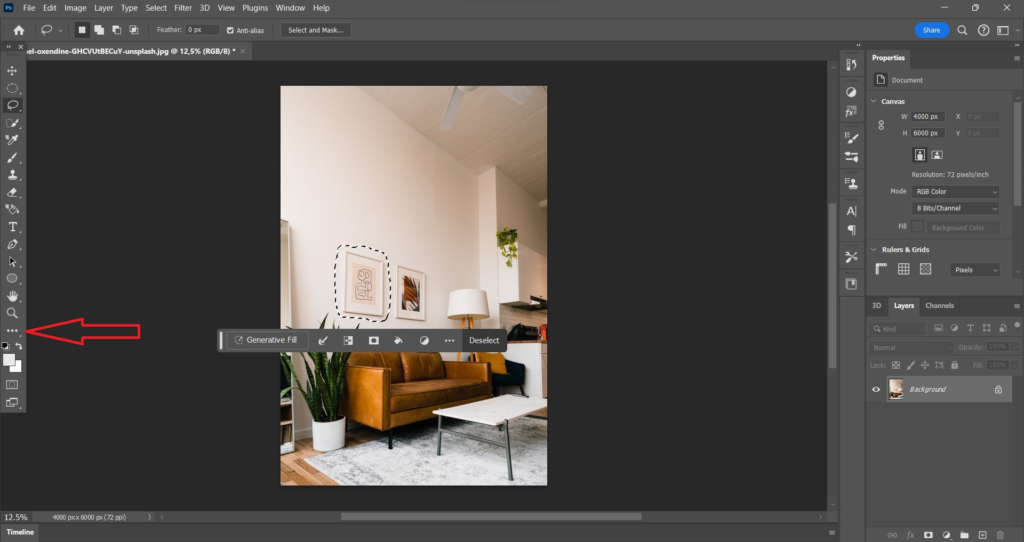
3. Select the (content-aware move tool).
Step 3: Check the settings
Before you want to place the object in its new location it would be wise to take a look at the top options bar and make sure you’re using the same settings as under this text.
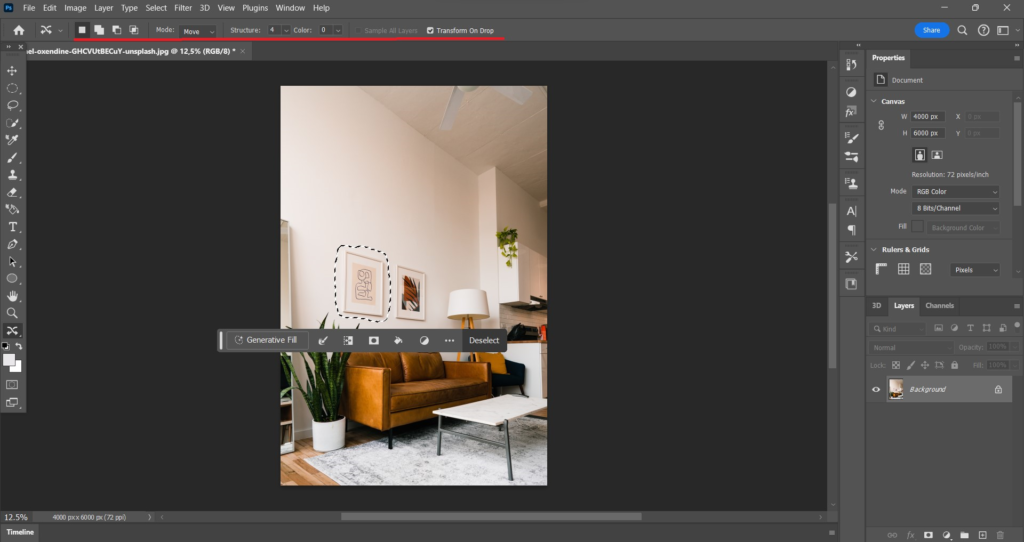
- (New selection): Make sure that the first square is selected.
- (Mode: Move): Select (Move) not (Extend).
- (Structure: 4): Make sure you start with (4).
- (Color: 0): Start with (0).
- (Sample All Layers): Make sure this is checked. If you can’t check it it is because you are only using one layer. So only check it if you’re using multiple layers.
- (Transform On Drop): Make sure this is checked.
Step 4: Move the object
1. You can now move the object to a new position. To move it to a new position click and drag the object to its new location.
2. After releasing your mouse transform controls will appear around the selected object. You can use the handles to resize the object and you can rotate it.
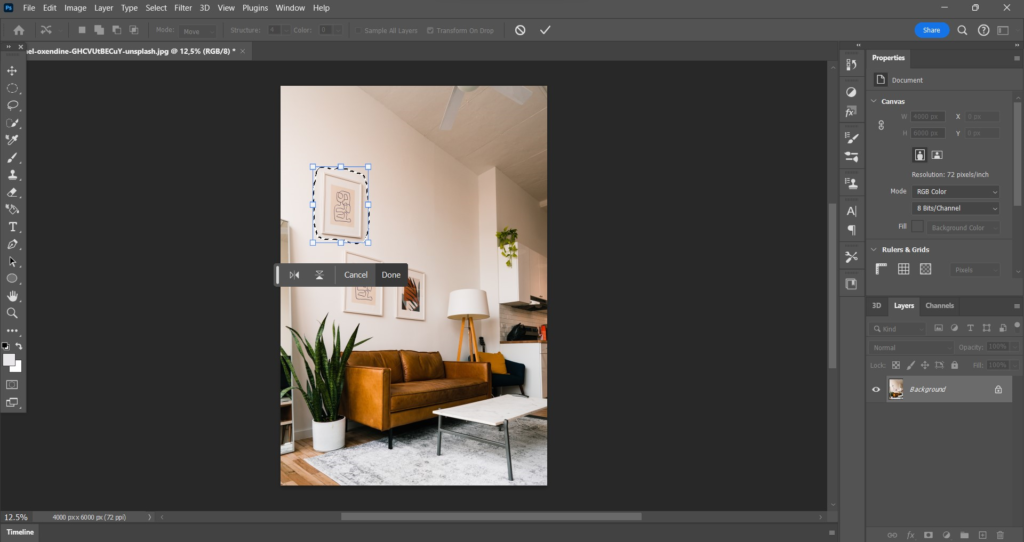
3. But you can now also use the arrow keys on your keyboard to nudge the object into place. every time you click on an arrow the object will move by one pixel.
4. After you’re done with moving the object or resizing it click on (Done) or click on the check mark in the top menu.
5. If you’re happy with the new position of the object but the background does not match with the object try this.
6. Don’t deselect yet. Look at the top options bar and play a bit around with the structure and the color. Keep playing around with those 2 till the object finally matches with the background.
7. If you’re happy with the new position and also how it all looks you can now finally click on (Deselect) or hold down CTRL D or Command D on your keyboard.