In this tutorial, you will learn how to set up margins in Photoshop. Knowing how to add margins is something that every Photoshop user should know.
It gives you the freedom to precisely control the spacing and layout of your designs, ensuring a professional and polished look.
So let’s say you’re making a digital business card and you want to print it out it could be that the card you made in Photoshop could not come out of your printer the way you like it.
What I mean by that is sometimes if you print out your design some parts will be cut off during the printing process.
That’s why you should use margins to make sure every element in your design is in the safe zone so that everything will stay untouched.
And this is just one scenario where margins are helpful. There are countless other problems out there that can only be solved by knowing how to add margins. So let’s not keep waiting and let’s scroll right into the steps.
Step-by-Step Guide to Setting up Margins in Adobe Photoshop
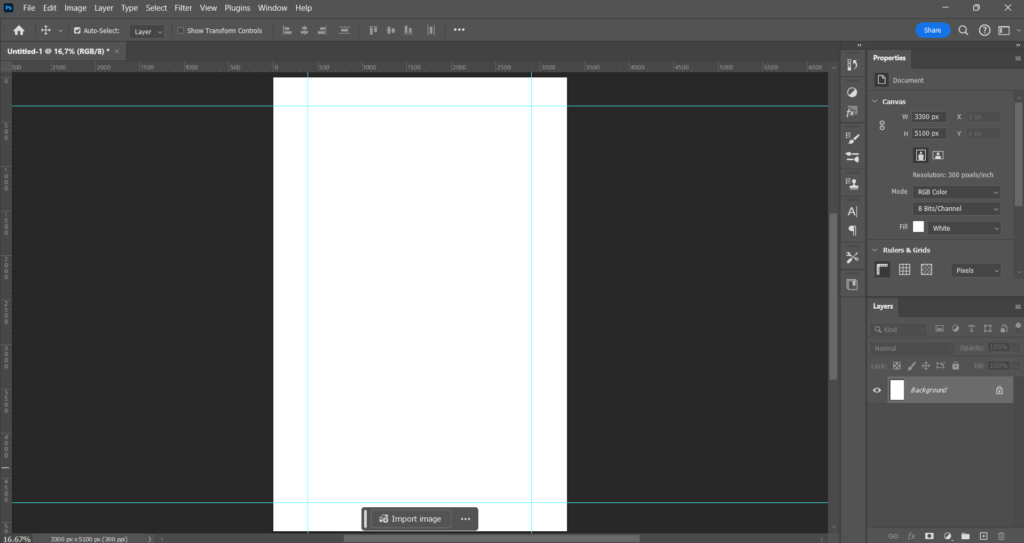
To get started open up Photoshop and select an existing file or create a new document. As you can see in the image below, I went to the (Print) Section and chose (Tabloid). The settings are 11 inches in width, 17 inches in height, Color Mode (RGB Color), and the resolution is 300.

There are two ways in Photoshop that you can use to add margins. I personally don’t really have a preference for which one is better. I would just take a look at both to see which one suits you the best.
Method 1
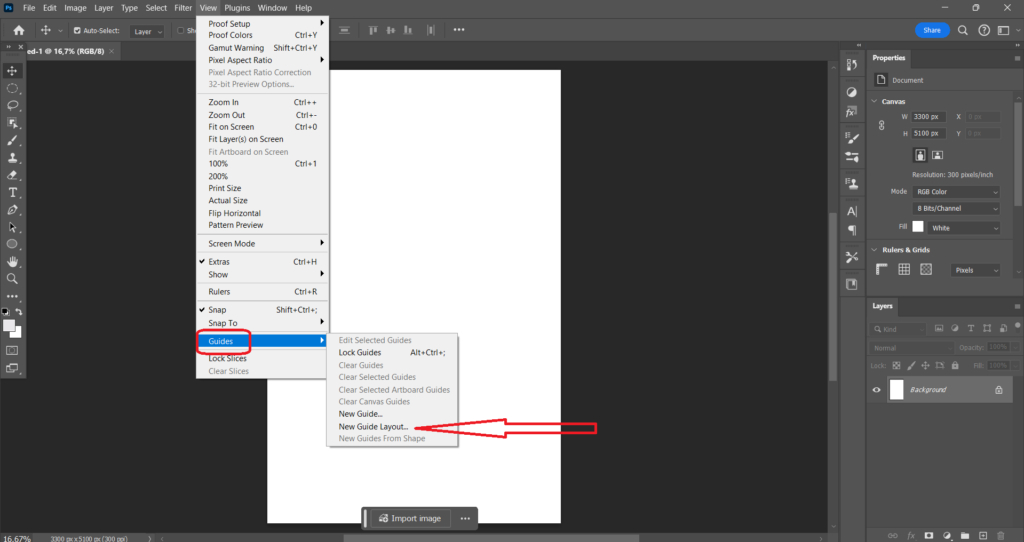
Make sure you are in the working space and click on (View) in the top menu bar. Now click on (Guides) and select (New Guide Layout).
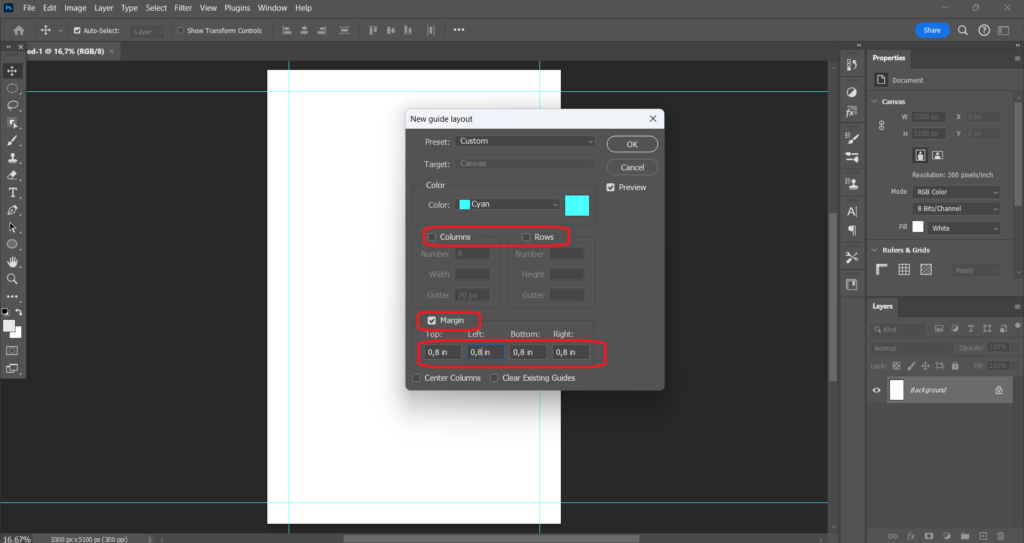
Now a dialog window will pop up on your screen with all kinds of settings in it. Uncheck (Coluums) and (Rows). Make sure the box next to the word (Margin) is checked and then adjust the margins to your liking.
Method 2
Firstly make sure you’re in the working space and press (Ctrl + R) or (Command + R) to activate the rulers. But you can also do it manually by clicking on (View) in the top menu bar and selecting (Rulers).
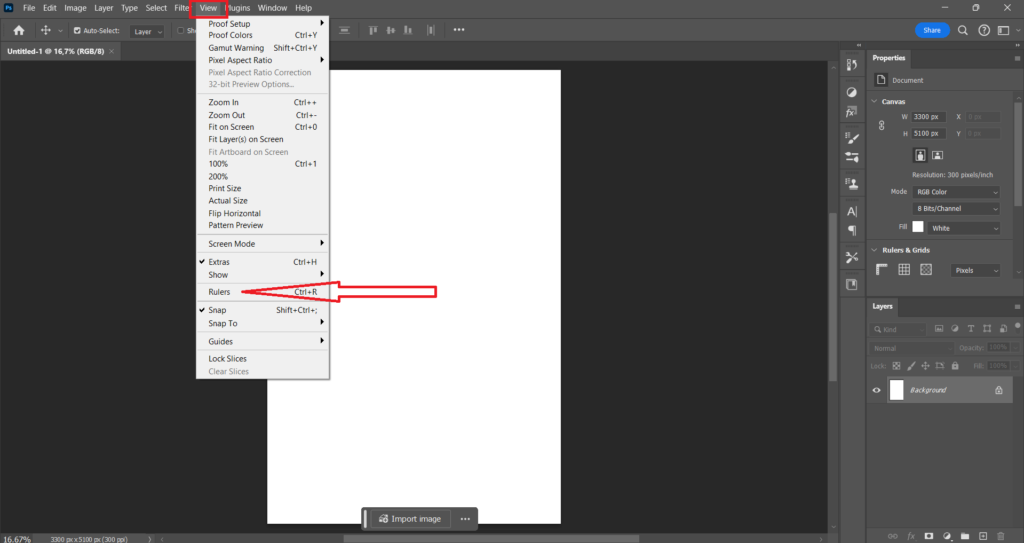
After you do that you should now see the ruler measurements at the top of and on the left side of the workspace.
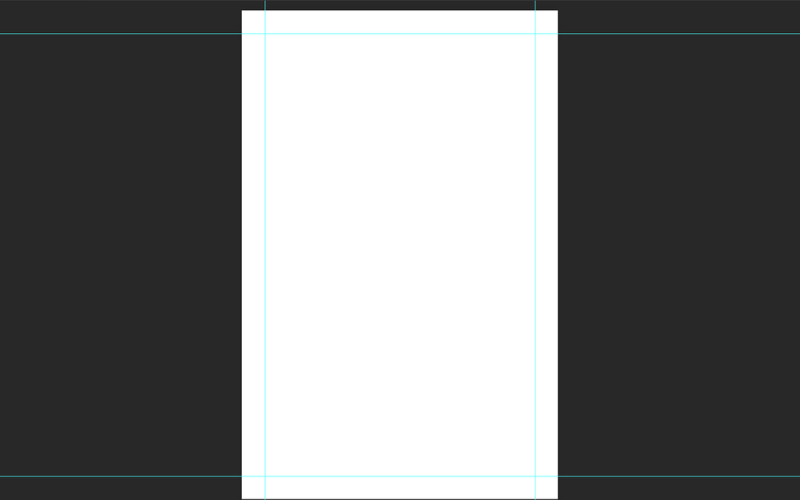
You can now proceed to add margins by clicking and dragging from the rulers onto your canvas. Just place your mouse on the ruler where you want to start the margin. , click, and then drag to the desired endpoint.
Repeat this process for both the horizontal and the vertical side of your canvas till you’re satisfied with how it looks