In today’s tutorial, you will learn how to invert your selection in Adobe Photoshop. Knowing how to invert a selection in Photoshop is super important to know. It’s not just about getting better at details, it helps you speed up your editing process, gives you more freedom to be creative, and makes problem-solving easy.
So let’s say you want to retouch, paint, or apply a filter to a specific part of a photo without affecting the inside of the selection in a photo you’ll have to know how to flip selections around. And that’s what I teach you in this Photoshop tutorial so with that all being said let’s get into this and bring your editing skills to another level.
How to invert a selection in Adobe Photoshop
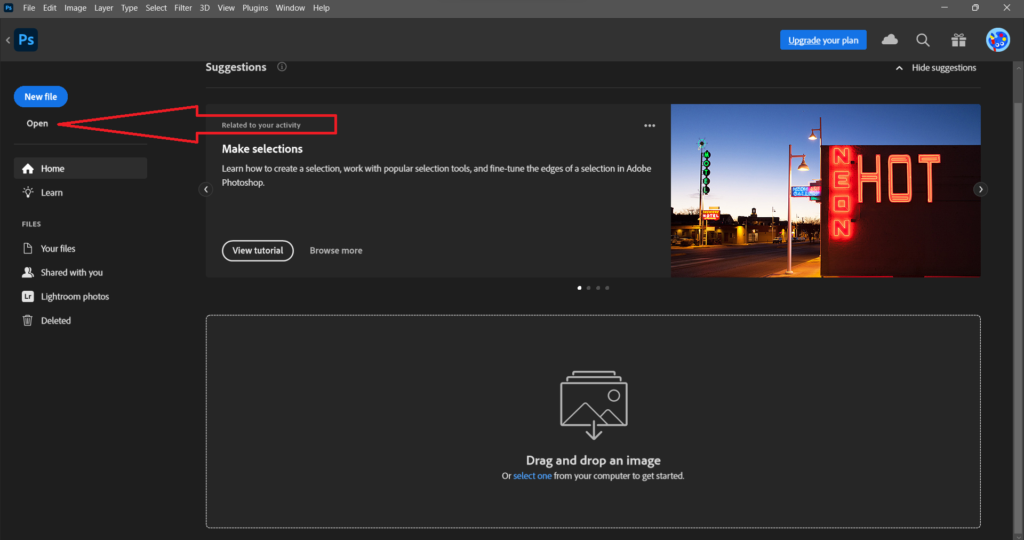
Step 1: Import your image to Photoshop
To get started open up Photoshop and open a recent project but if you haven’t added your photo yet do this. Click on the button (Open) and your file explorer will open up. Now select the photo you’d like to add to Photoshop and that’s it.
If you’re afraid you might mess up your original image that’s completely fine feel free to just use an old or an unimportant image to practice on first.
If you want to use the image that I’m using you can find it on Pexels from there you could also use other ones if you like that better.
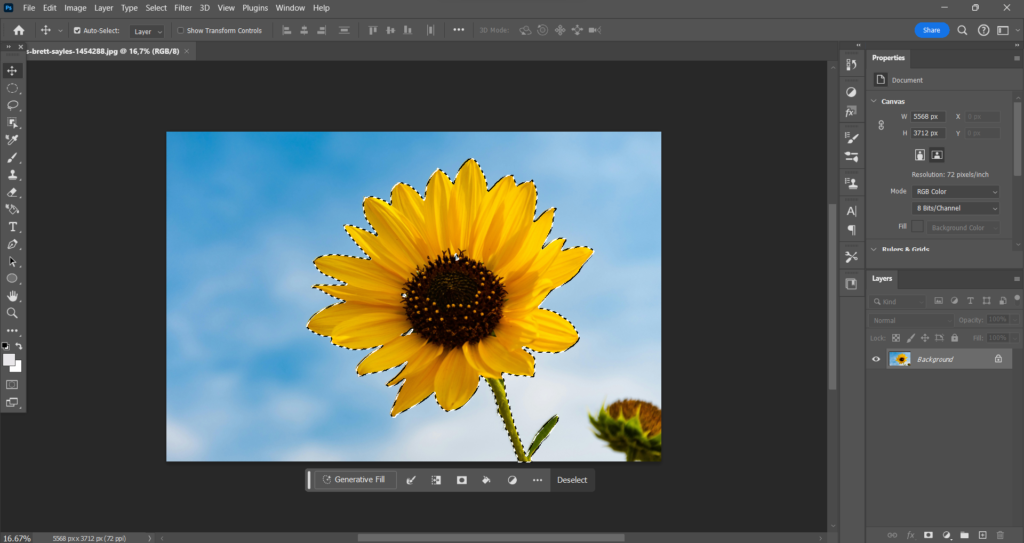
Step 2: Make a selection
There are several tools in Photoshop that you can use to make a selection like the Elliptical Marquee tool, Lasso tool, Object Selection Tool, Quick Selection Tool, and the Magic Wand Tool.
I understand that this could be pretty overwhelming for some so I suggest you just go through the toolbar and see which one suits the best for your object.
Unlike the Object Selection Tool, you’ll have to manually create a selection and sometimes this could go pretty wrong. So if you’ve made the wrong selection and want to make a new selection area you can use a keyboard shortcut to go back to where you were before.
Use the keyboard shortcut CTRL plus Z on Windows or Command plus Z on Mac to undo the existing selection. This keyboard shortcut also reverts other changes you have made in Photoshop so not only selections and you can do this as many times as you like.
Step 3: Invert the selection
There are 3 ways in Photoshop that you can use to invert selections. Fortunately for you, I will teach you both three ways so that you can find out which one suits you the best.
Personally, I like all three methods because they are all three very easy to complete and you’ll achieve the exact same results. I don’t mind using all three methods myself when I work on something but you might so let’s take a deeper look into this.
Method 1: Using your keybuttons
Firstly I want to say that the other 2 methods are also relatively fast compared to this one but this one is just the fastest there is at the moment. So if you don’t like wasting time do this. Hold down SHIFT + CTRL + I on your keyboard if you are on Windows or hold down Shift + Command + I if you’re using a Mac.
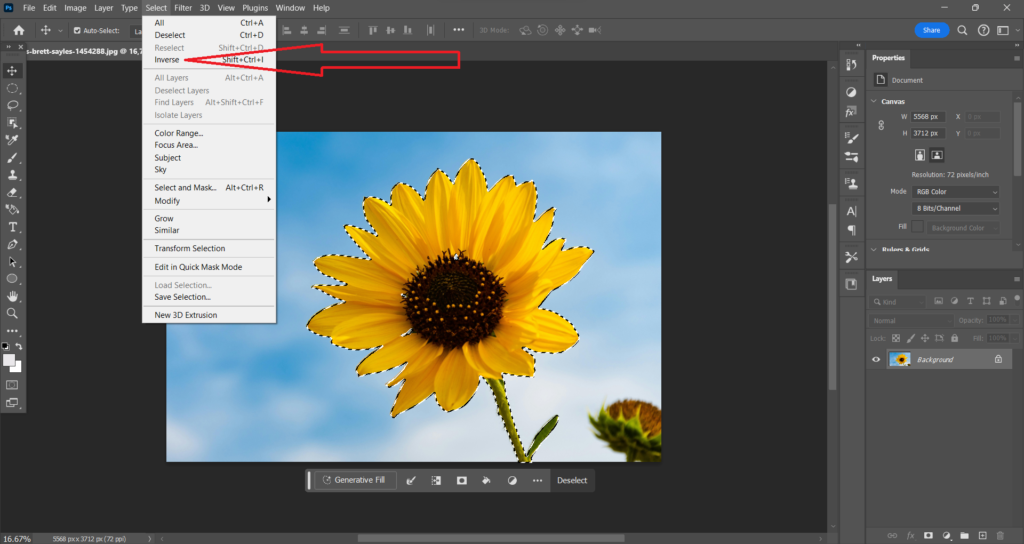
Method 2: Using the menu bar
This method is also very easy so what you wanna do is click on Select and click on Inverse and that’s it.
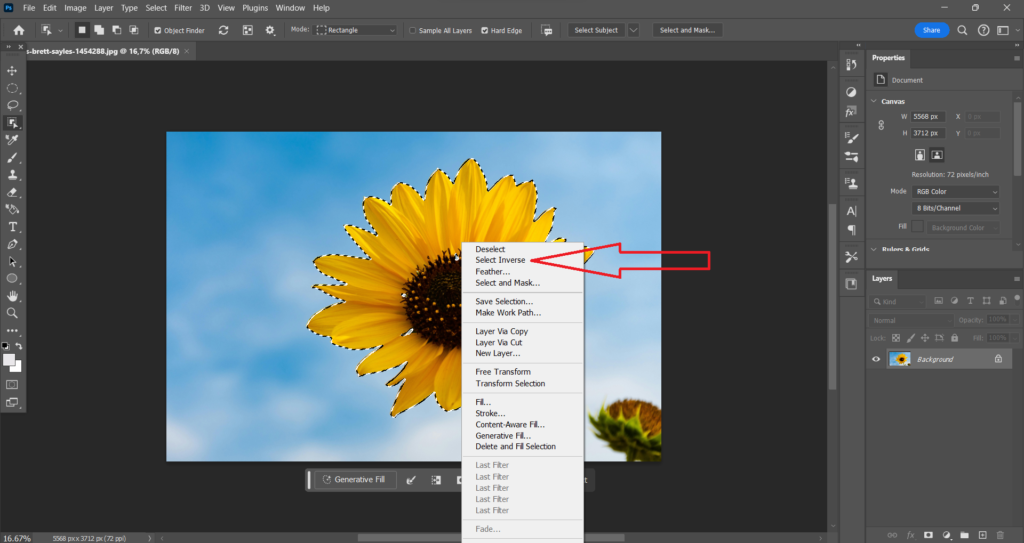
Method 3: Using your mouse
This method looks the same as method 2 but it’s a bit different. Position your cursor in the active selection and right-click your mouse. After you do that a drop-down menu will appear with several options in it choose Select Inverse.
You’ll know if your selection is inverted if you see the little black-and-white lines moving around your canvas we call those lines marching ants. They are also visible if you’re creating a selection.
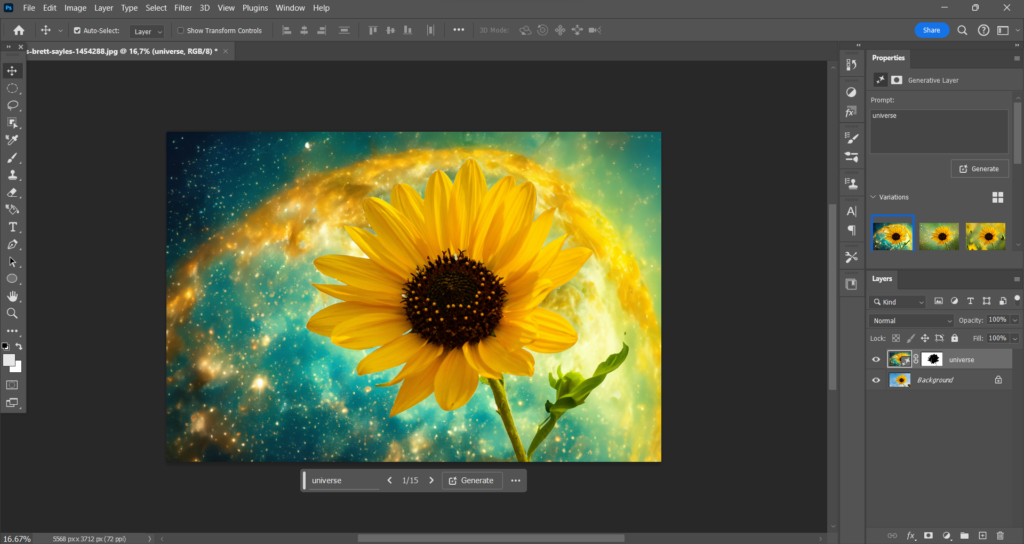
As you can see the unselected area the area outside of my selection has now become the selected area which allows me to basically do anything without affecting the inside of the selected area.
You can use the following image as an example I changed the background and replaced it with a universe and the flower was not affected at all.
Final thoughts
Here you are at the end of the blog post and while you’re here I want to tell you that I’m very positive that every Photoshop user should know how to invert selections, especially if you’re a hardcore Photoshop user. It just opens up a whole new world I mean if you paid attention to the photo I was using throughout the steps the transformation of the background was flawless and the flower was not even affected. But if you struggled with something during this post feel free to reach out to me or the Adobe Community I’m pretty sure they can help you out.