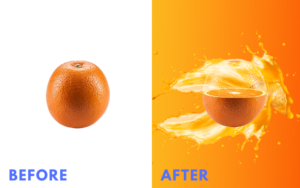
Inverting a layer mask in Photoshop is very important to know, especially if you’re very active in the photo editing industry. The main reason why you should learn how to invert masks in Photoshop is that you can control what is hidden or revealed when adding a layer mask. Fortunately for you, completing this task in Adobe Photoshop using my tutorial will be like cooking an egg it will be easy and handy to know.
Inverting a layer mask
Doing it manually
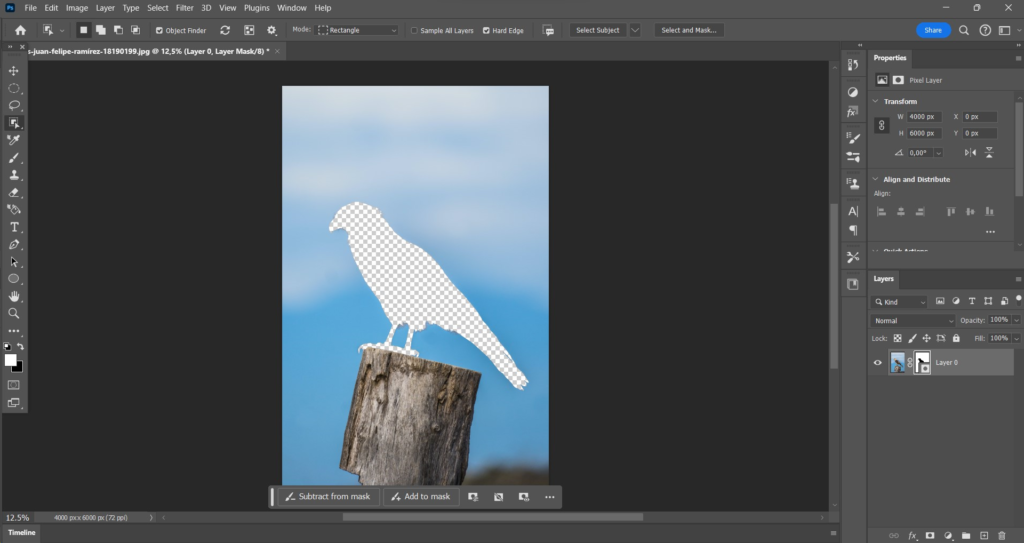
1. Before getting started, click on the layer mask in the layers panel to make sure the mask is selected.
2. After you do that, click on (Image) in the top options bar and select (Adjustments). Now, a vertical box will appear with some options in it, including (Invert).
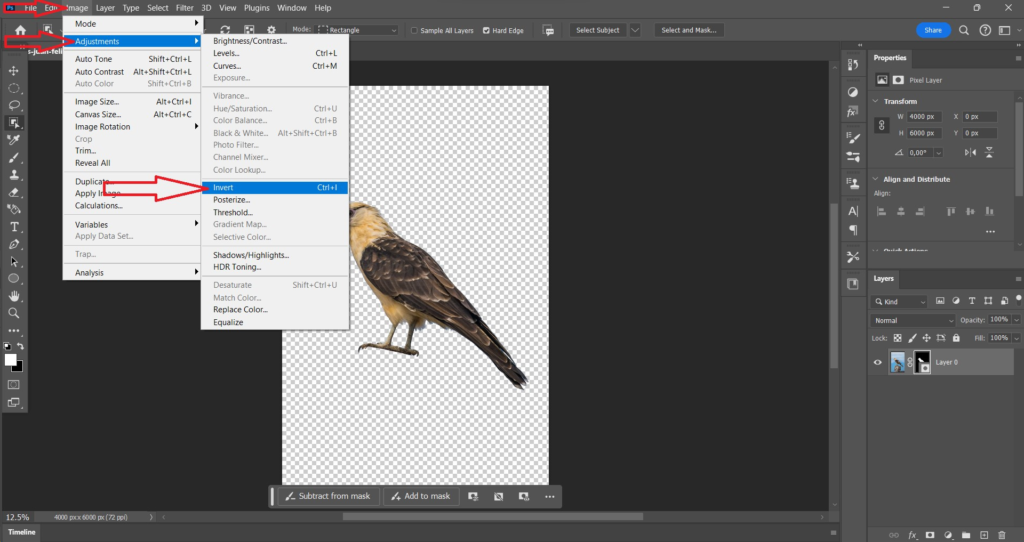
3. Click on (Invert) and that’s it. If you want to go back to how it previously was just click on (Invert) again.
Using a shortcut
If you’re not that big of a steps person and always just skip till the end for the answer well today is your lucky day because there’s a shortcut you can use and you’ll achieve the same results as if you were doing it manually. Use the keyboard shortcut command + I (Mac) or ctrl + I (Windows).
Inverting a new layer mask
When you create a new and blank layer mask, it typically starts as a white mask, which means that everything on the entire layer is visible. If you want the opposite the black mask which means that everything on the entire layer is hidden do this,
1. Press on the (ALT) or (Option) key while you create a new mask.
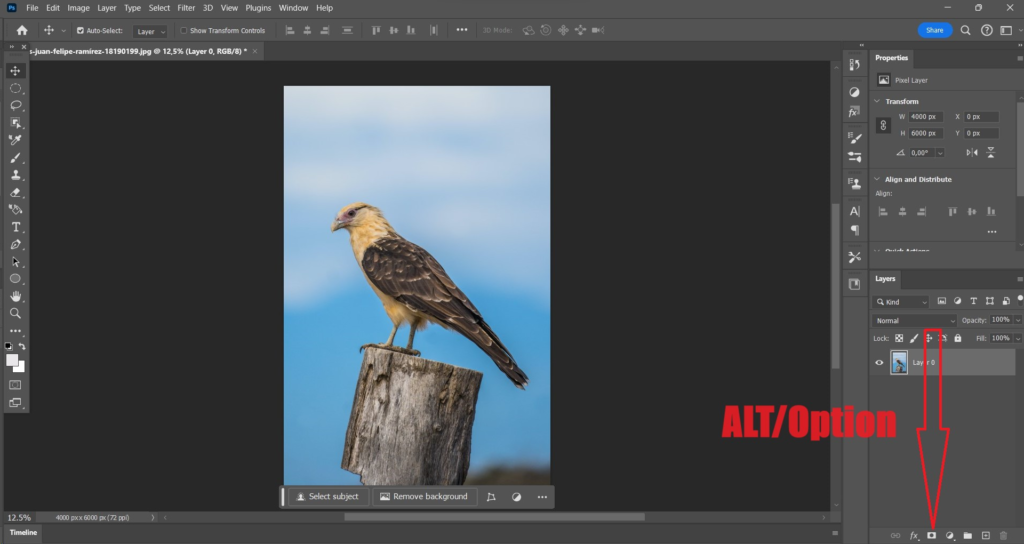
This technique could also be used if you have a selection. So let’s say you have made a selection of something and you create a new layer mask normally you will start with a black mask instead of a white mask. But if you use this technique while clicking the layer mask icon you will get a white mask.
Duplicating and inverting a layer mask
I have now talked about how to invert a mask and how to create an inverted mask but that’s not it for this tutorial. Remember with Photoshop you can go beyond your limits and to finish it off I will teach you how to invert and duplicate your mask at the same time. But before we do that let’s first look at how to duplicate a mask.
Duplicating a layer mask
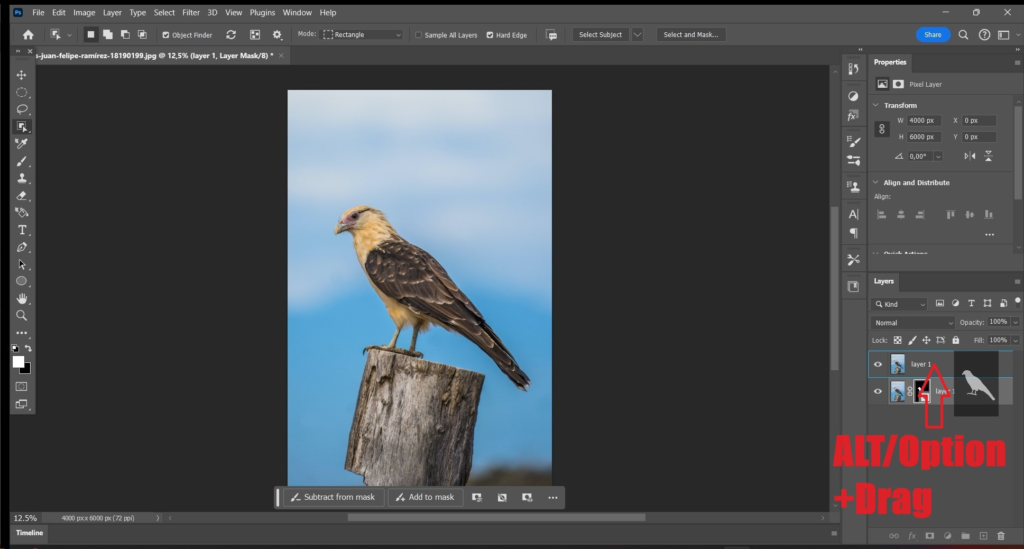
1. Select the mask and use the keyboard button ALT/Option and drag the layer mask thumbnail to a new layer.
Duplicating the mask and inverting it at the same time
1. If you want to invert the mask and copy it to a new layer at the same time hold ALT/Option and Shift while you click and drag the mask to a new layer.
Final Thoughts
A layer mask is an amazing tool that can help you with countless things. But knowing how to invert one is also very important to know. But if you for some reason still don’t know how to do it the only tip I can give you is to just do more research on Google or YouTube. But if you found this tutorial useful and you now know all kinds of different ways to invert masks using Photoshop I’m very happy I could have helped you with that.