In today’s time, privacy has become a significant concern in the online world and that’s why protecting someone’s identity is very important to know. The most common way that people use to protect someone’s identity is by using a blur effect. With a blur effect, you can hide any face very easily, and is a very effective solution for protecting a person’s privacy. Fortunately for you, there is a free graphic design tool out there named Canva that can help you with this. Canva offers a free built-in blur tool that can help you with blurring faces in photos.
How to blur a face in a photo using Canva
Step 1: Upload the photo to Canva
1. To get started you will first need to add the image that you want to use. But there are 2 ways that I always use to do this.
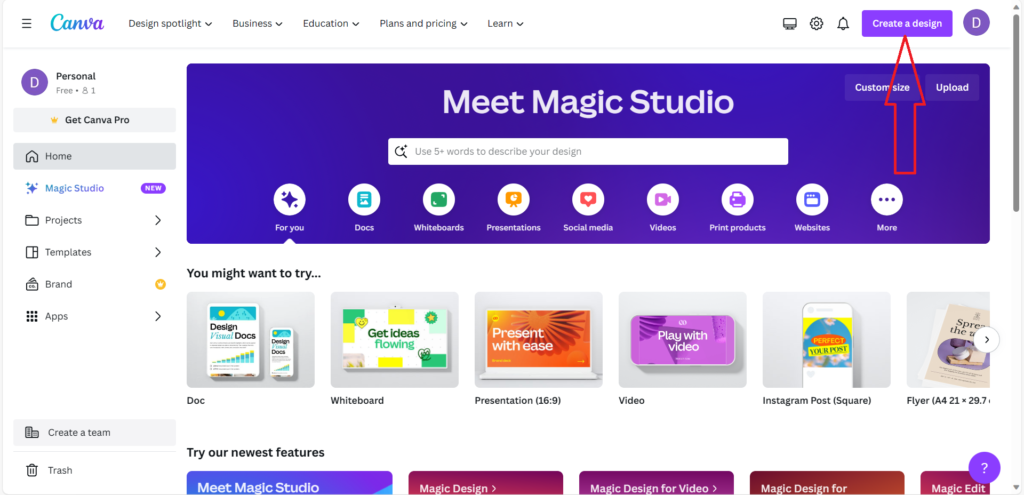
2. The first way is by opening up Canva and clicking on (Create a design) in the top right window. and click on (Import file) below the suggested canvas size options. And from there choose the photo you want to use.
3. The second way is if you’re already in the canvas edit window click on (uploads) in the left side toolbar section and click on (upload files) from there choose the photo you want to use. After you add it to Canva you should see your photo under (Images).
Step 2: Activate the blur tool
1. After you add your photo to Canva you will need to activate the blur tool. To do this make sure the photo on the canvas is selected so just just simply select the image.
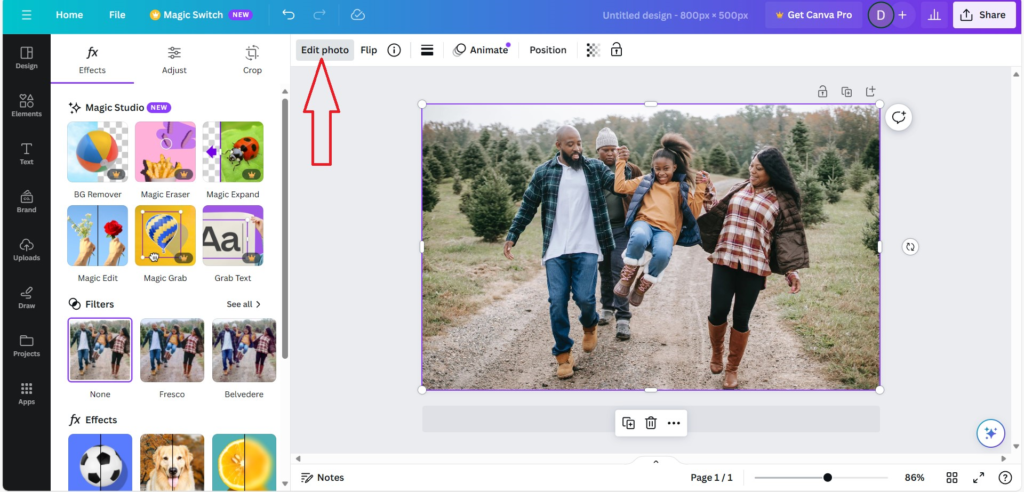
2. Click on (Edit image) if you don’t see (Edit image) but (Edit photo) instead it is probably because you’re using the new editor version from Canva.
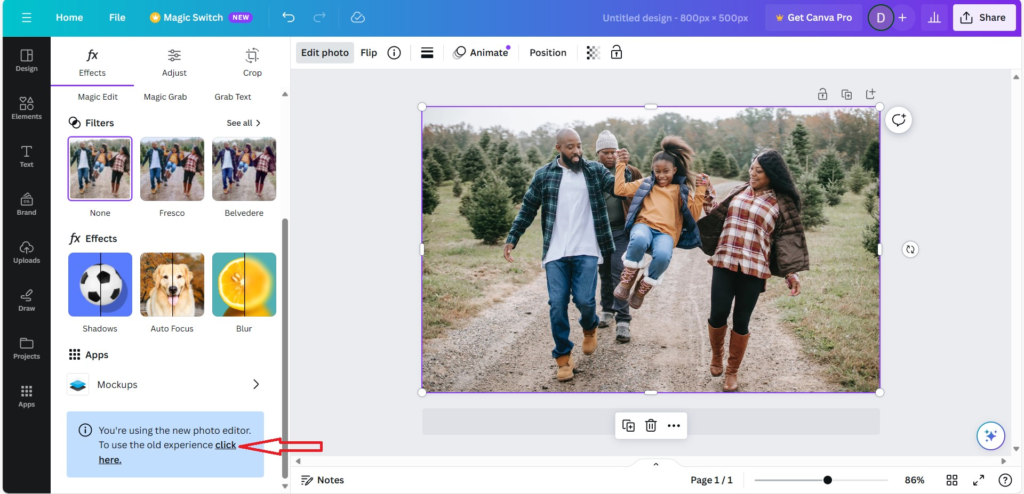
3. To switch back to the old editor click on (Edit photo). Scroll down till you see a piece of text with a blue background behind it click on (click here) and click on (Revert to the old editor). But remember if you do this any edits you have made to the photos in this design will be lost.
4. Now we can finally start, click on (Edit image) and you will now see some photo effect options appear on the left-hand side menu. Scroll down until you see the blur app called (Blur) and click on it.
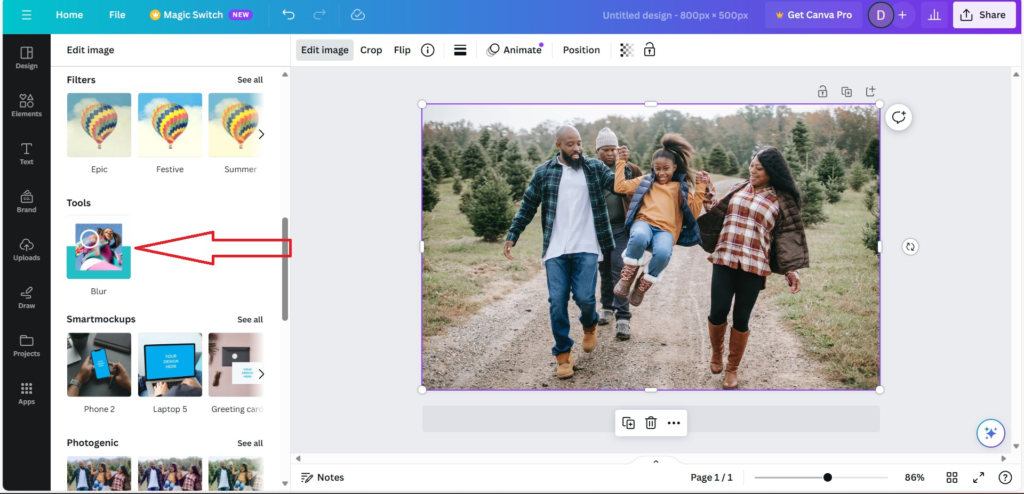
5. It could be that your blur app is located a bit further down compared to mine as you can see in my picture that’s because I used it before and you didn’t so don’t worry about this.
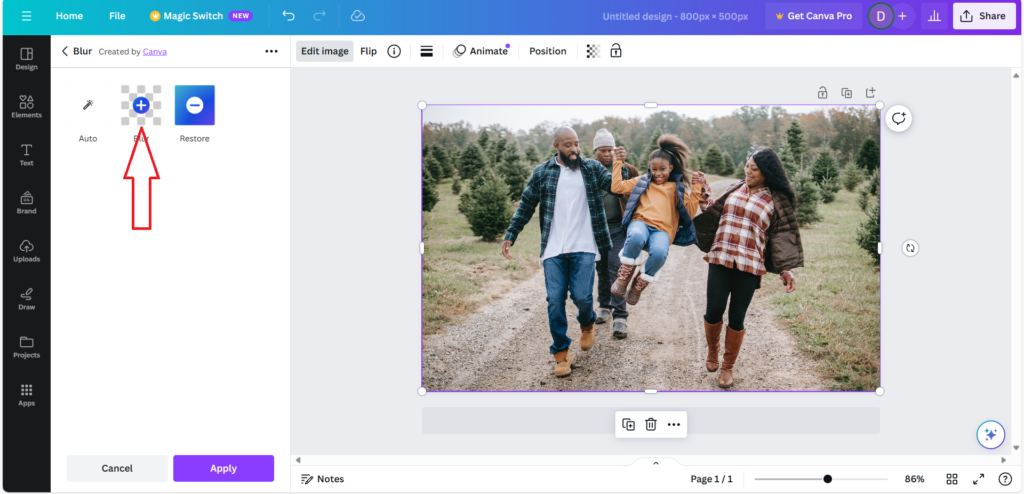
6. Now click on the blur button with the plus icon in it and the blur tool should be activated.
Step 3: Apply the blur effect
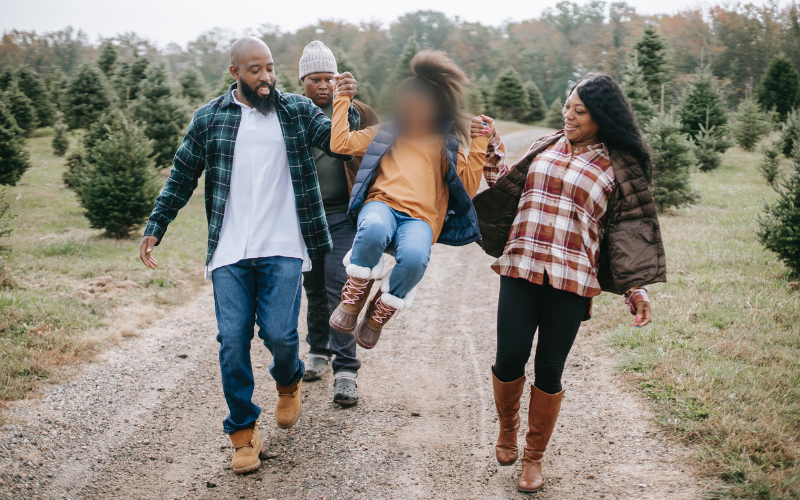
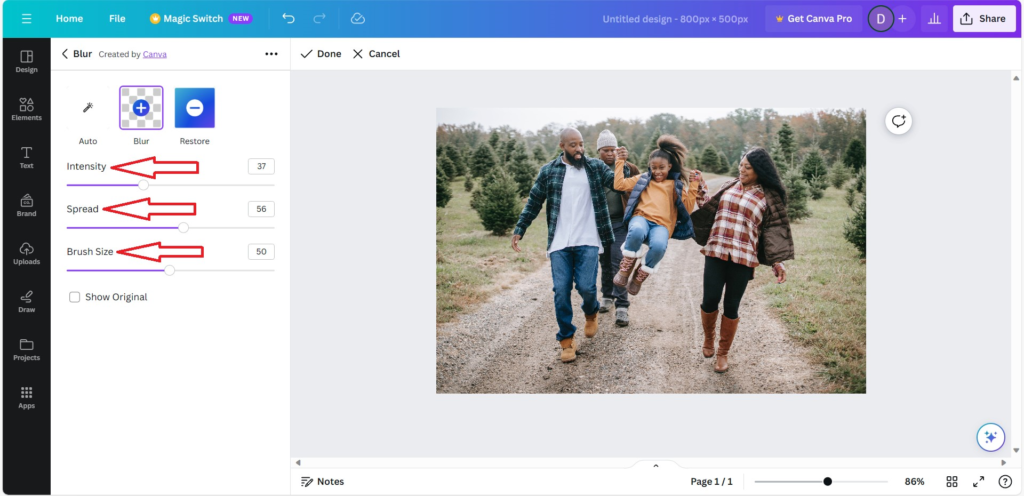
1. With the blur tool activated it is now time for you to learn how to blur a face in Canva. As you can see there are 3 sliders that you can use to adjust the blur effect. With the 3 sliders, you can adjust the intensity of the blur the spread, and the brush size. Choose what is best for you.
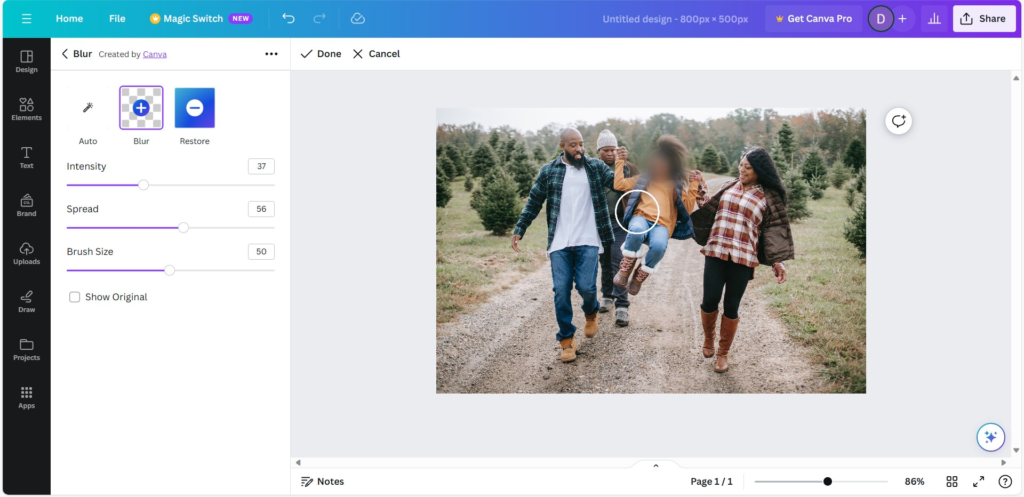
2. Left-click your mouse and drag the cursor over the face you want to blur. A purple stain will appear as you click and drag but this is just a tool that shows what area you blurred and in a matter of time it will just disappear.
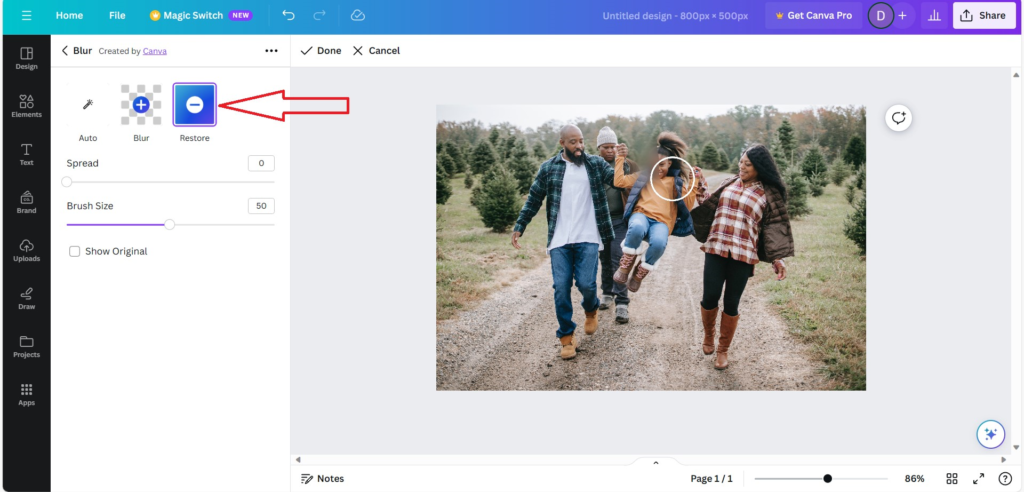
3. If you accidentally blurred too much or made a mistake click on the (Restore) button next to the blur button and remove the unwanted parts. What I really like about what Canva did is that they let you adjust the brush size and the spread even in the (Restore) section.
4. After you are done and want to edit your photo further, simply click on (Done).
Frequently Asked Questions (FAQs)
Why do I have to switch back to the old editor?
this is because Canva’s old editor provides you with a tool where you can blur specific parts of an image. So just any area you want and in your case that should be a face. On the other hand, the latest editor version of Canva also has a blur feature but that feature only allows you to blur an image so no specific areas. So you will just end up with a whole blurred image and that is not what you want.
Can I also Blur the whole photo?
Yes, you can also blur a photo if you want but if you do this I suggest you use Canvas’s latest edit version, not the old editor. Because the latest editor version of Canva has a Feature where you can blur the whole photo in just one click.
What can I do with the 3 slider settings?
With the 3 sliders, you can adjust the intensity of the blur the spread, and the brush size. They work pretty basically if you drag one of the sliders to the left one of those 3 things will decrease and if you drag one of the 3 sliders to the right the opposite will happen. This is really helpful because you can customize the look of the blur.
Final Thoughts
After reading my post I really hope you know now how to blur a face in an image in Canva. I think it is really important to know how to do this, especially in the world we live in today. We should also really thank Canva because Canva provides us with a free tool that we can use to blur in Canva so worrying about buying Canva Pro won’t be needed. I tried to make the steps as easy as possible for you but if you still do not know how to do it I suggest you do more research on Google. I’m pretty sure there are some other Canva tutorials out there that could help you.